Eventplot quick start guide
Layout
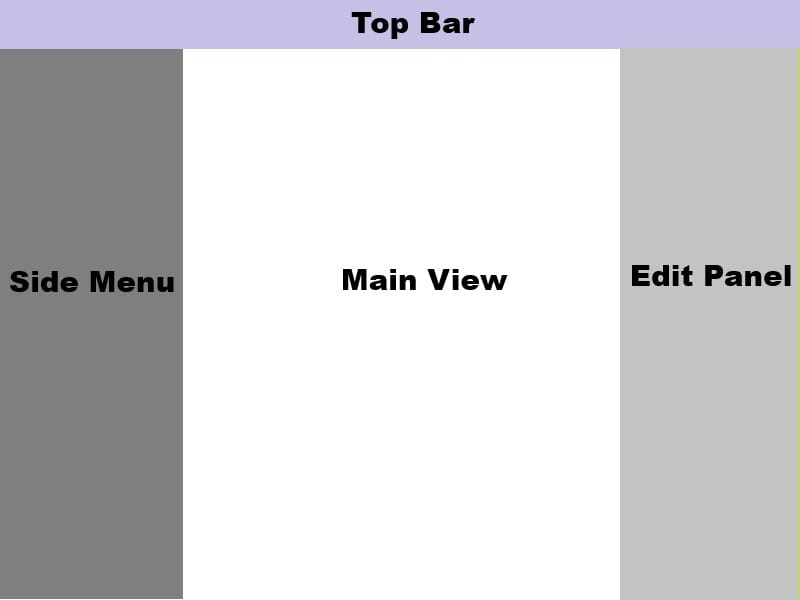
The window for Eventplot is laid out consistently across the app. In this guide I am going to use some common language:
Organisations
An organisation is essentially a group of people working together on one or more events. When you first log in, you have no organisations (unless someone else has invited you to one!). To create an organisation, you need to click on the drop down where your name is and click the '+' button.
In organisation settings, you can then name your organisation, add an image for your organisation and invite other people to be a member of the organisation (using the '+' button in the Top Bar).
- Admin: Full control over the organisation except for deleting the organisation.
- Member: Limited control over the organisation. They can only read organisation data and have no permissions to create, update, or delete resources or manage members.
Event Settings
The Event Settings portion of the app comprises of two key areas:
- Event Settings
- Branding & Images
Event Settings
In this section, you can set the name for your event, contact details and the event date. If you intend to use the mapping tools, you also need to set your event location. To do this, click on the map to 'unlock' it, then drag the map around. You can use the mouse wheel to zoom in and out just like most other mapping tools that you use. Once you have roughly centred the map on your event location, click 'Save'. The mapping tools will now unlock.
Below the map, you will find you can allocate this event to an organisation if you are using organisations. If you created the event while you were registered with an organisation, this may have been set by default.
Below that is a space for business information. This is used for the invoicing system. For an invoice to be enforceable, the contact details need to be completed. You can generate invoices without these details, but they would be difficult to enforce if you needed to.
Branding & Images
In this space you can upload logos for your event, create a 'default' colour palette for your event that you can use later on the map and website and upload general images that you may with to use on the map and website.
Resources
Eventplot uses the concept of resources to manage the event. There are four types of resource: Vendor, Performer, Stage, Sponsor.
For all of the resources, you can create and manage those resources manually. Although each type of resource has some unique features (for example, performers can add spotify and soundcloud links) they are all essentially managed in the same way.
Out of the four, stages are unique though. For Vendors, Performers and Sponsors, they can be 'invited' to your event, can manage their own profiles and have some very special tools to help with managing them. Stages though are different - you can't 'invite' a stage to attend. Instead, Stages are linked with Performers via the Scheduling tool, which we will look at later.
For Vendors, Performers and Sponsors you can:
- Choose which fields you require people to complete when they sign up
- Add 'Admin Questions', which allow you to collect specific data required for you to manage the event
- Add your own terms and conditions for them to agree to.
These settings can all be accessed either on the Edit Panel next to the section, or in the Top Bar:

Vendors and Performers also have the concept of categories. This will vary for your event, but it means vendors can indicate things like being a charity, a food supplier etc and performers could show whether they are a band, soloist or speaker.
Once you have everything setup ready, you can Invite resources to your event using the button in the Top Bar. You can share a link on social media, send emails or just copy the link to send in your own email.
When new resources sign up, they will first go to your inbox - you need to Accept them to your event. If you reject them, they will be deleted and will need to sign up again.
Invoicing
This is unique to Vendors. Before you use invoicing we recommend setting up your registered details in Event Settings. After that, you can modify the Invoice Settings (Either in the invoicing section on the Edit Panel, or once again on the Top Bar settings menu). For invoicing, you should setup payment details and also detail chargeable items, taxes and other discounts. Once this is done, you can start to create invoices.
Schedule
Once you have created stages and you have performers created or signed up you can schedule them onto the stage. The schedule uses a simple drag and drop interface. From the performer list drag the block over the timeline and drop it at the correct stage and time. By default, performances are an hour, but you can grab the end of the block to extend or shorten this.
This schedule can then be published to the website later!
Mapping
The mapping tools are split into three sections:
- Planning Map: this is where you edit and make changes to your site layout.
- Site Map: This is a simple wireframe overview map designed to give a site plan view for use on the day. It's kept as simple as possible.
- Public Map: This allows you to 'preview' the map that will be shown to the public if you publish.
We are mostly going to look at Planning Map, as that is where the work is done. The Site Map and Public Map are essentially just visual tools to give you an idea of how things will look.
Setting up your map
You will already have set your event location, so the map should be centred on that location. If for any reason it isn't, you can click the 'reset' button on the Edit Panel.
This is the suggested order now for setting up your event map, all of the tools can be accessed using the 'Add Items' button in the Side Menu
- Add a Site / Zone. The first one of these your draw will define your site. Click on the tool and a pink ball will appear. You now mark out your site by clicking around the edge of the site. Don't worry if it's not perfect at first, once you have finished you can drag the pink balls that you have added to refine it, or you can click on the pink line to add new drag balls!
- Once you have marked out your site, now is a great time to layout physical features. You can add paths, trees, rocks and any other 'zones' that you want. For some zones, you might want them to only be viewable for Operations - you can add items to the operations layer by clicking the button in the Top Bar and then using the Add Items button there. You can also switch items to the Ops layer later using the option in the Edit Panel
- Next is a great time to add any stages that you are using. You can also mark our crowd spaces and link the crowd to the stage (this makes the crowd 'fill' when there is a performer on the stage!).
- Now it's time to add plots. This is a central part of Eventplot, hence the name. Again, using the Add Items button add your plots where you intend to have vendors. The plots can be resized to match your needs and you can give plots a Plot Number - these could be simple numbers or they could indicate zones or areas, e.g. "Main Field 1". You can also assign colours to plots.
- Once you have added plots you can then allocate vendors to plots using the option under 'Plot Settings' in the Edit Panel. Once a vendor is allocated, 'Vendor Settings' will also appear. In there you can choose the size of the vendor and also how that vendor is displayed (from gazebo, to food van to a shipping container!).
- There are many other items and features you can add to your map - you can keep adding new things like fences, lighting, emergency services, toilets and map labels.
Website editor
When you first enter Website Editor, we will create a 'default' website for you. This should suit many people, but you can of course edit it as you need. You change around the order of items using the blocks on the right in the Edit Panel. You can then click on individual blocks in the Edit Panel to change them.
Important: In order for Vendors, Performers and Sponsors to be shown on your website, you must have chosen to 'publish' them in the resource section. This will turn them green in the Main View so that you know that resource is published!
Once you are happy with your website, you can click publish at the bottom of the Edit Panel. In the top bar, you will then find a button that allows you to get the link to the website. If you want to use your own domain for your website, this can be done - contact us for information.