
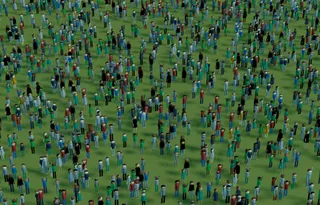
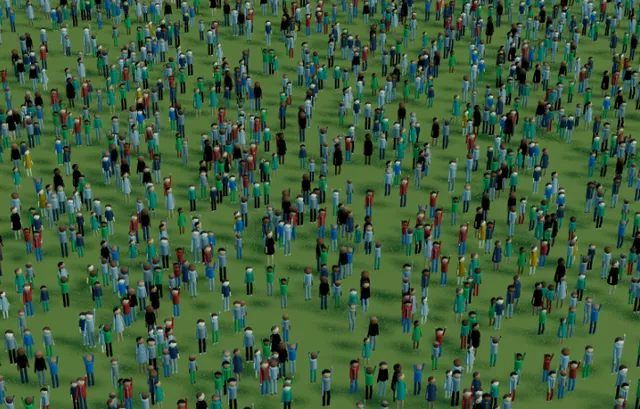
Crowd areas show where audiences gather in front of stages. They appear as groups of people inside a shape you draw on the map.
1. Add a crowd area
On the planning map, open the Asset library. In the Stages section, choose Crowd.
2. Draw the outline
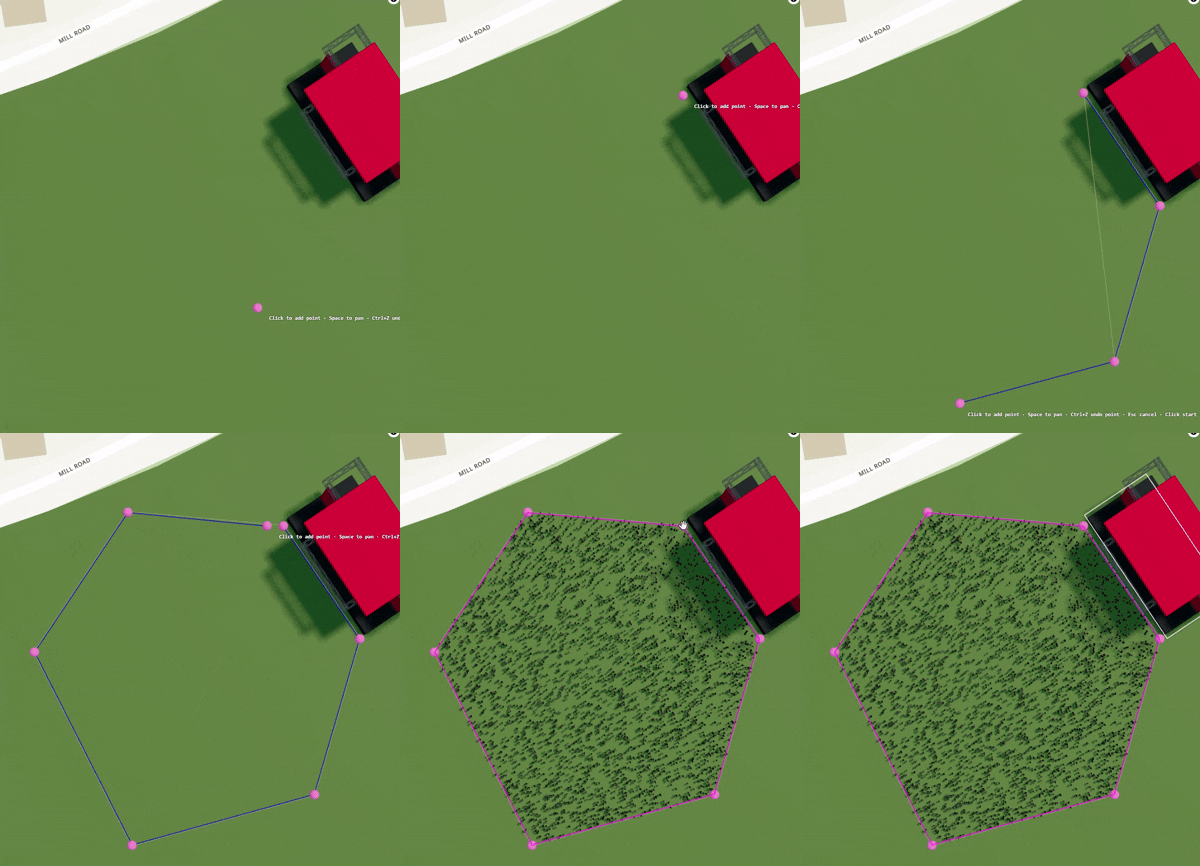
Click on the map to place each corner of the crowd area. While drawing:
- Click to add a point
- Space and drag to pan without placing a point
- Ctrl + Z (Mac: ⌘ + Z) to undo the last point
- Esc to cancel
- Click the first point again to close the shape
Draw the area where the audience stands — typically in front of a stage.
3. Set density
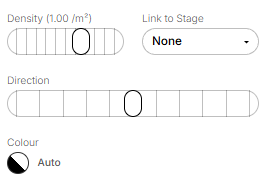
With the crowd selected, use the Density slider in the settings panel. This is people per square metre (roughly 0.01 to 1.5 per m²).
On the planning map, the crowd always shows at the density you set. On the public map, if the crowd is linked to a stage, it shows full density when that stage has something on now in the schedule; otherwise it appears much sparser.
4. Link to a stage (optional)
Under Link to Stage, choose a stage that already has a model on the map. This ties the crowd’s visibility on the public map to that stage’s live schedule.
If no stages are on the map yet, the dropdown shows “Assign stages first” — place and assign a stage, then return to link the crowd.
5. Set crowd direction
Use the Direction slider to rotate which way the crowd faces (towards the stage, a path, etc.).
6. Edit later
- Double-click the crowd shape to edit its points
- Drag corners to resize the area
- Drag the whole shape to move it
- Press Esc when you finish editing points