Managing stages
How to create, edit and manage stages

Stages are the performance areas for your event — Main Stage, Dance Tent, and so on. Each stage is a resource you manage separately from the 3D model on the planning map. Create the resource first, fill in its details, then place it on the map when you are ready.
Open the Stages page
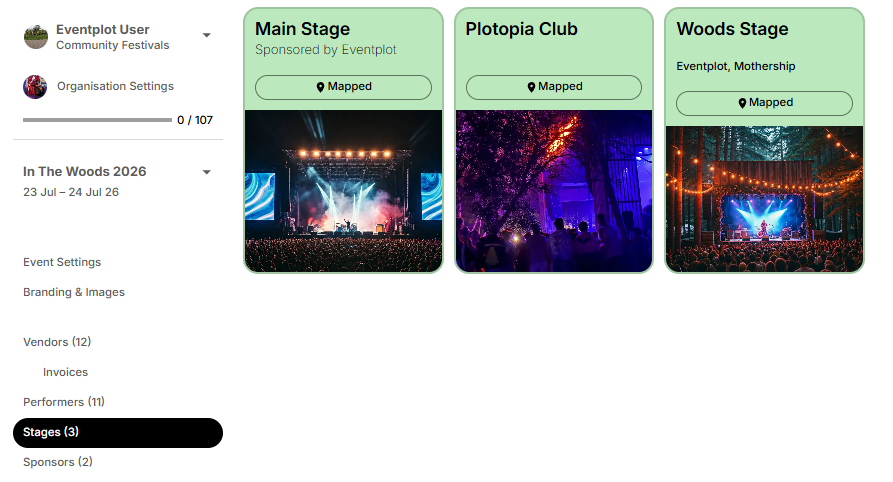
In the event sidebar, click Stages. You will see a list or grid of all stages for this event.
Use the sort and view controls at the top to switch between list and grid, or sort alphabetically.
Create a stage
Click the + button at the top of the Stages page. A new stage is created with a default name (e.g. “Untitled Stage”) and opens in the details panel on the right.
You can also create a stage from the Schedule page using the + button in the header above the timeline — useful when you are building your lineup and realise you need another stage.
Edit stage details
Select a stage card to open its settings in the details panel.
Name and schedule appearance
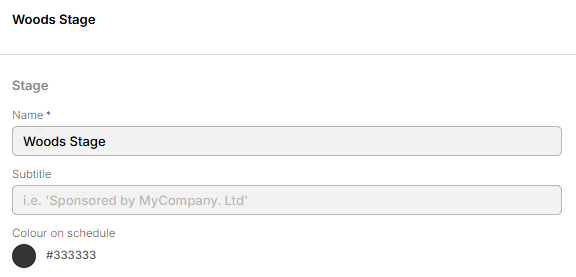
Under Stage, set:
- Name — e.g. “Woods Stage” (required)
- Subtitle — e.g. a sponsor line shown on the public site
- Colour on schedule — the colour used for this stage’s column and sessions in the schedule timeline
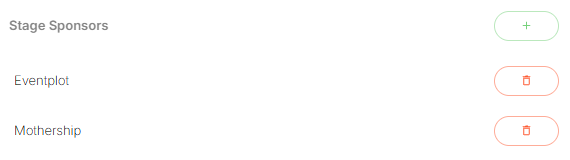
Stage sponsors
Under Stage Sponsors, link sponsors that should be associated with this stage. Sponsor names can appear on the stage card in the list.
Map location
Under Site, the Location field shows whether the stage has been placed on the planning map.
- If not yet mapped, click Map to open the Planning Map and place it
- If already mapped, coordinates are shown and the button reads Mapped — click to jump to that stage on the map
The Map button is disabled until the event location is set in Event Settings.
Lineup
The Lineup section shows a preview of performances scheduled on this stage. Use the settings button in Lineup to open the full Schedule page and add or edit performances.
Public information
Scroll down to the public-facing content:
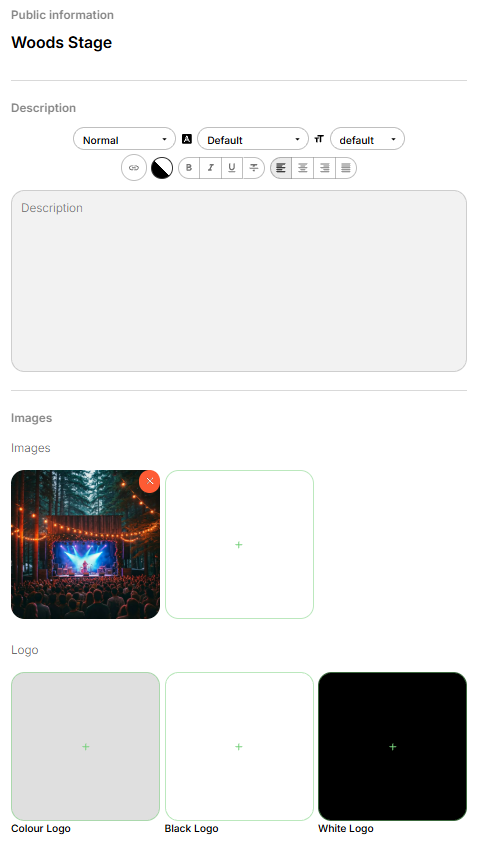
- Name and Subtitle preview — how they will appear to visitors
- Description — rich text about the stage
- Images — gallery images and logos for the public website
[Image: Content shown on your public event website]
Changes save automatically as you edit (there is no separate Save button on the full-page editor).
Publish or delete a stage
At the bottom of the details panel:
- Delete — permanently removes the stage (and unlinks it from the map if it was placed)
- Private / Published — control whether the stage appears on your public website, public map, and schedule
Note: Only Published stages and Published performers appear publicly on the schedule.

Stage cards and the map
Each stage card shows whether it is on the map:
- Add to map — opens the Planning Map so you can place a stage model and assign it to this resource (requires event location to be set)
- Mapped — click to open the Planning Map with that stage selected
Export
Use Export CSV at the bottom of the Stages list to download stage data.