
Organizations - Quick Start Guide
Work as a team in Eventplot: organisations, shared credits for Event Licences, members, roles, and shared events.
# Organizations - Quick Start Guide
Organisations let you work on Eventplot events as a team. Share events, pool credits for Event Licences, and invite colleagues with the right level of access — while keeping personal events separate when you need to.
You do not need an organisation to use Eventplot. Create one when you are ready to collaborate.
Personal vs organisation
Your account always has a Personal workspace for your own events.
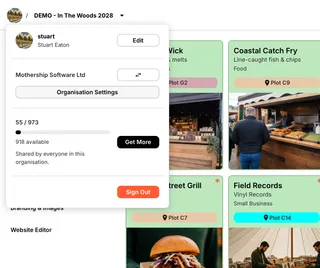
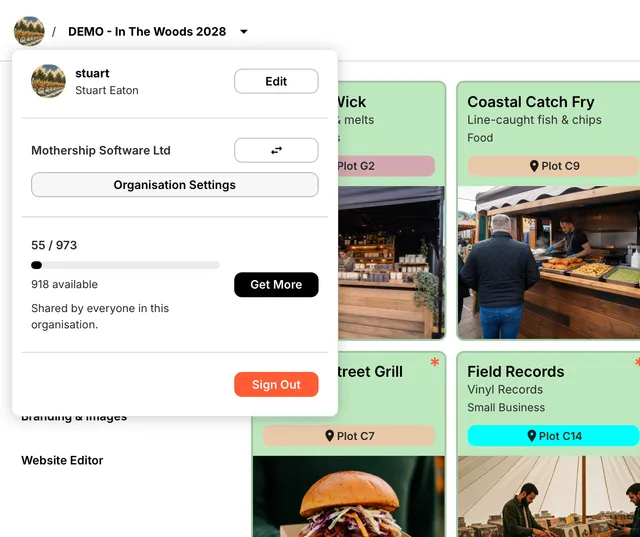
When you create or join an organisation, it appears in the account menu at the top of the sidebar. Switch between Personal and any organisation to change context:
- Events listed are those belonging to the active workspace
- Credits shown for the active workspace come from that wallet (personal or organisation)
- New events you create are assigned to the active organisation (or stay personal if none is selected)
Tip: Before creating an event for your team, switch to the correct organisation first — it is assigned automatically.
Create an organisation
Open the account menu (your name at the top of the sidebar) and click + next to Organisations.
Eventplot creates a new organisation and opens Organisation Settings. Rename it straight away — the default name is New Organisation.
You can also create an organisation from the Events page when you are in Personal mode and have no events yet — click Add organisation.
Open organisation settings
With an organisation selected in the sidebar, click Organisation Settings.
The main page shows:
- Your organisation card and Credits
- Members (and pending invitations)
- Events belonging to this organisation
Click the organisation card to open details in the panel on the right (or in a dialog on smaller screens).
Set up your organisation
In the organisation details panel, admins and owners can edit:
- Name
- Location (address)
- Logo
Changes save automatically as you edit.
The Transactions section lists credit purchases for the organisation.
Understand credits
Credits buy Event Licence capacity — not a monthly subscription.
- 1 credit = 1 vendor, performer, stage, or sponsor slot on an event’s Event Licence
- Personal events spend credits from your personal wallet
- Organisation events spend credits from the organisation wallet
- Credits are used when you set or upgrade the Event Licence (during new-event setup or from Event Licence in the sidebar)
- Maps, schedule, and site layout items are not charged per object
Organisation wallets start at 0. Admins and owners use Get more credits on the organisation page to buy packs for the team.
Note: If you move an event between personal and organisation workspaces (or between organisations), the destination must have enough credits for that event’s Event Licence — Eventplot confirms before the move goes ahead.
For a fuller walkthrough, see Credits and Event Licences and Pricing.
Invite team members
On the organisation page, admins and owners click + in the header to open Invite User.
Enter an email address, choose a Role, and click Invite.
Pending invitations appear under Members → Pending. Click one to review or cancel it.
Invitees receive a link to accept or reject the invitation. Once accepted, they can switch to the organisation in their sidebar and access its events.
Roles
- Owner — full control, including deleting the organisation
- Admin — manage members, invitations, organisation details, and credits — but cannot delete the organisation
- Member — view organisation details; cannot manage members or organisation settings
Admins and owners can change a member’s role or remove them from the organisation (except the owner).
Work on shared events
Events in an organisation are visible to all members of that organisation.
- Open Organisation Settings and scroll to Events, or stay on the Events link when an organisation is active
- Click Add event to create a new shared event (make sure the organisation is selected first)
Each new event still needs an Event Licence paid from the organisation’s credit balance.
Tips
- Purchase organisation credits before a large event build
- Switch workspace before creating the event so it lands in the right place
- Use roles so only admins/owners can buy credits and manage invitations