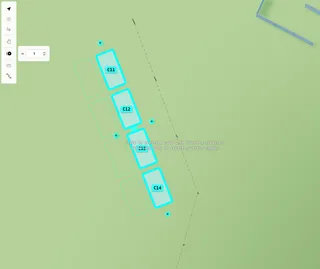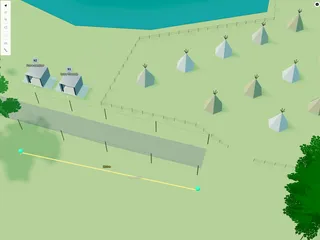
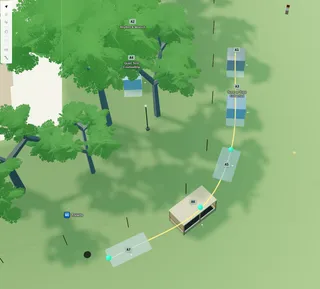
Alignment paths for lining up plots and stalls
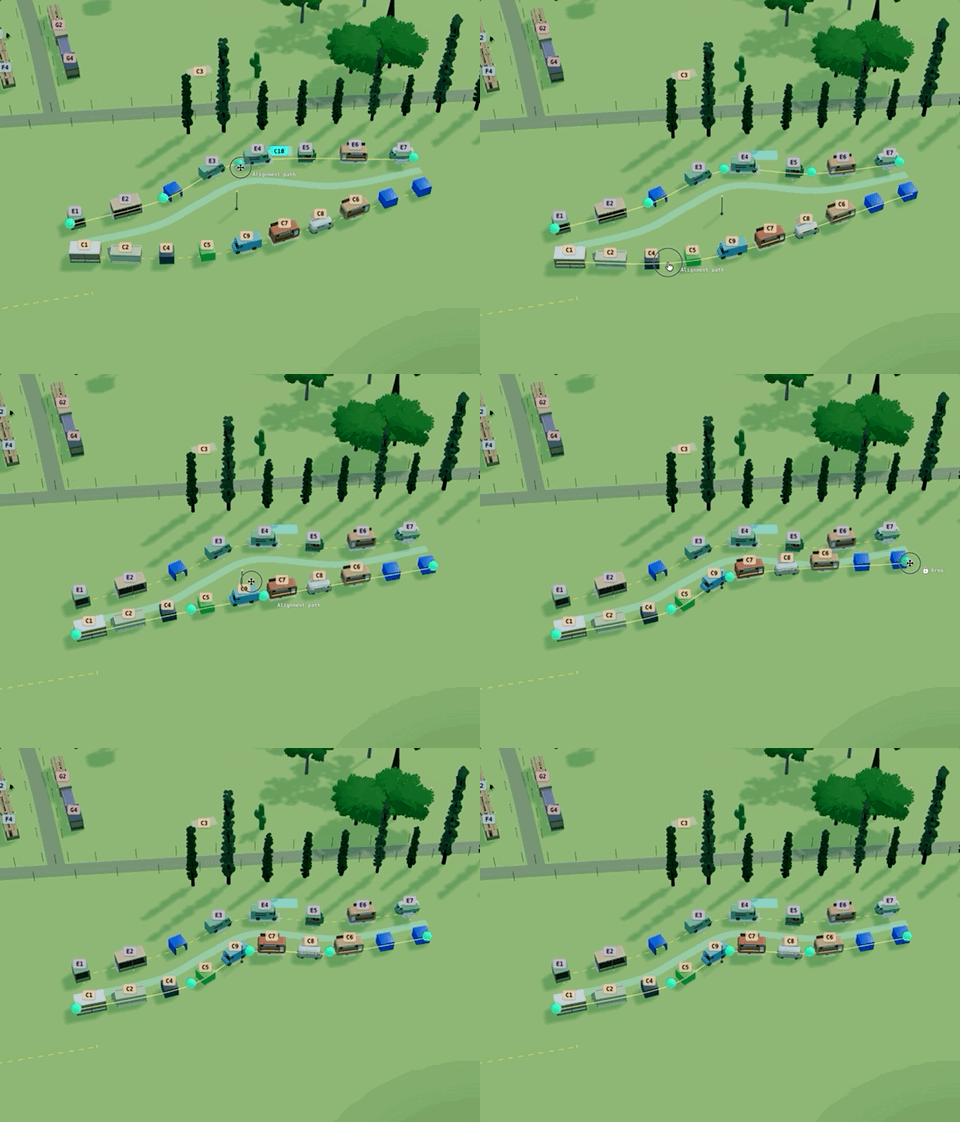
Draw an alignment path on the Planning Map to snap, space, and face plots, stages, and other items along a market row or curve.

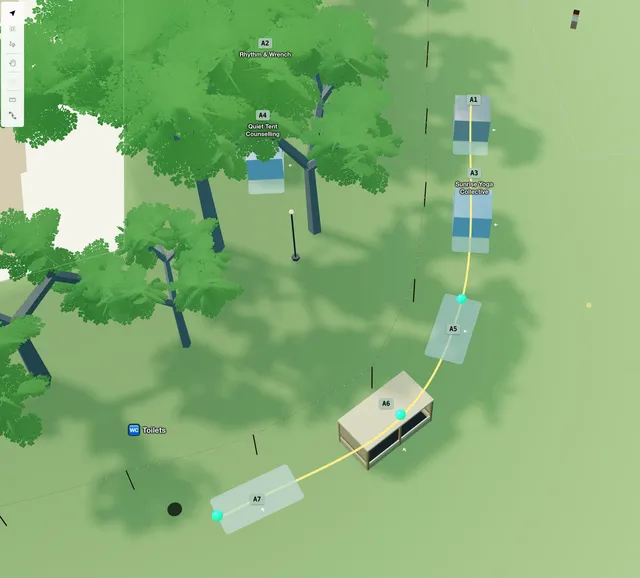
An Alignment path is a planning guide on the Planning Map. Use it to line up plots, stages, and other items along a curve — for market rows, stage approaches, or any even run of stalls — without drawing a visible path for the public map.
Alignment paths stay in planning only. They are separate from Path objects (walkways and roads that can appear on the public map).
1. Draw an alignment path
On the Planning Map toolbar, choose Alignment path (next to Measure).
Click points along the run. When you have at least two points, click near the last point to finish. The path is selected and the operations layer turns on so you can see it.
While drawing: Space+drag to pan, ⌘/Ctrl+Z to undo, Esc to cancel.
2. Place items on the path
Drag plots, vendors (which create plots), stages, decorations, and similar items onto the path — the preview shows Snap to alignment path. Dropped items lock to the path and face along it.
You can also select items already near the path; selecting the path alone picks up nearby layout items for distribute.
Vendors on plots move with their plot. Site shapes, zones, measure lines, and other alignment paths are not placed on the path.
3. Distribute along the path
With the alignment path selected, use Distribute along path:
- Manual — slide items along the path yourself; no auto-spacing
- Distribute evenly — space items along the whole path
- Start / Centre / End — pack from the start, middle, or end of the path
Min gap sets the minimum centre-to-centre spacing in metres (not used in manual mode). If items need more room, the path can grow to fit.
Facing flips which way objects face along the path without moving them.
4. Copy along the path
Select an item on the path and use Linear duplicate (or the + handles on the selection). Copies stay on the path and respect your distribute settings.
Drag an item away from the path to detach it. Drag it back near the path to snap on again.
5. Edit the path
- Double-click to edit points
- Corner radius — round corners (0–50%)
- Drag to move the whole path; Alt+drag to rotate; Alt+C / V to copy
In layers, alignment paths appear under Alignment paths (planning only).