Event settings
Open Event Settings to manage name, dates, location, organisation, cloning, and how Event Licence credits work when you move or delete an event.

# Event settings
Open Event Settings from the sidebar to manage your event’s core details — name, dates, location, sponsors, organisation, and the contact info that feeds your website and invoices.
Most fields save automatically as you edit. The exceptions are noted below.
Location
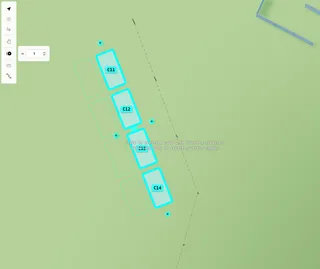
Click the map preview to set or adjust your event position, then pan and zoom to the right spot. Use the search box if you prefer.
Click Save or Cancel in the Location section when you are done — unlike the rest of the form, the map does not save until you confirm.
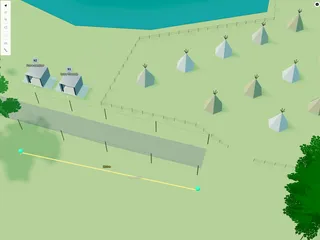
Tip: Setting a location unlocks the Planning Map and other mapping tools.
Add a Location name below the map if you want a readable venue label alongside the coordinates.
Event dates
Use the Day 1, Day 2, etc. pickers for your running times. Click + to add another day.
Note: If you change dates and already have a schedule, Eventplot asks whether to reschedule performances or remove slots that no longer fit. Worth checking the Schedule afterwards.
Sponsors
Use + to attach sponsors to this event — pick an existing one or add a new sponsor.
Organisation
Assign the event to an Organisation if you collaborate as a team.
Moving an event between personal and organisation workspaces (or between organisations) needs enough credits in the destination wallet to cover the event’s Event Licence. Eventplot confirms before applying the change. Event Licence credits already spent are not returned as a refund.
Business and address fields further down are mainly for invoicing and official correspondence.
Event Licence and credits
Capacity for vendors, performers, stages, and sponsors is set by the event’s Event Licence (see Event Licence in the sidebar, or the licence step when you first create the event).
Credits are spent when you set or upgrade that licence — not from this settings form alone. For how wallets and packs work, see Credits and Event Licences.
Custom public website domain
To use your own domain: CNAME `www` (or your hostname) to `sites.eventplot.com`, enter the Hostname, add the TXT record shown, then Verify DNS.
Clone and delete
Clone at the bottom copies the event — choose what to include and set new dates. Cloning needs enough credits in the active wallet for the copied Event Licence.
Delete removes the event permanently. Event Licence credits will not be returned.
If the page is read-only, you may be in the wrong organisation or not be the event owner.