Event sites and zones

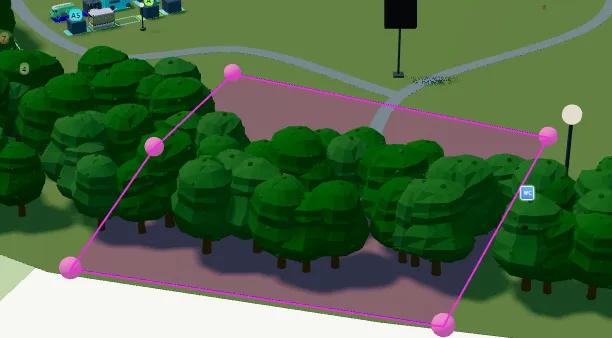
Site and zone shapes let you outline your event boundary and internal areas directly on the planning map. Use a site for the overall footprint of your festival, and zones for areas inside it — such as camping fields, backstage, or VIP sections.
1. Open the asset library
On the planning map, open the Asset library from the toolbar. Under Shapes, choose Site / Zone.
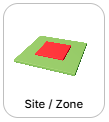
The first shape you add becomes your site (the outer boundary). Any further shapes default to zones inside the site. You can change the type later in the settings panel.
2. Draw the outline
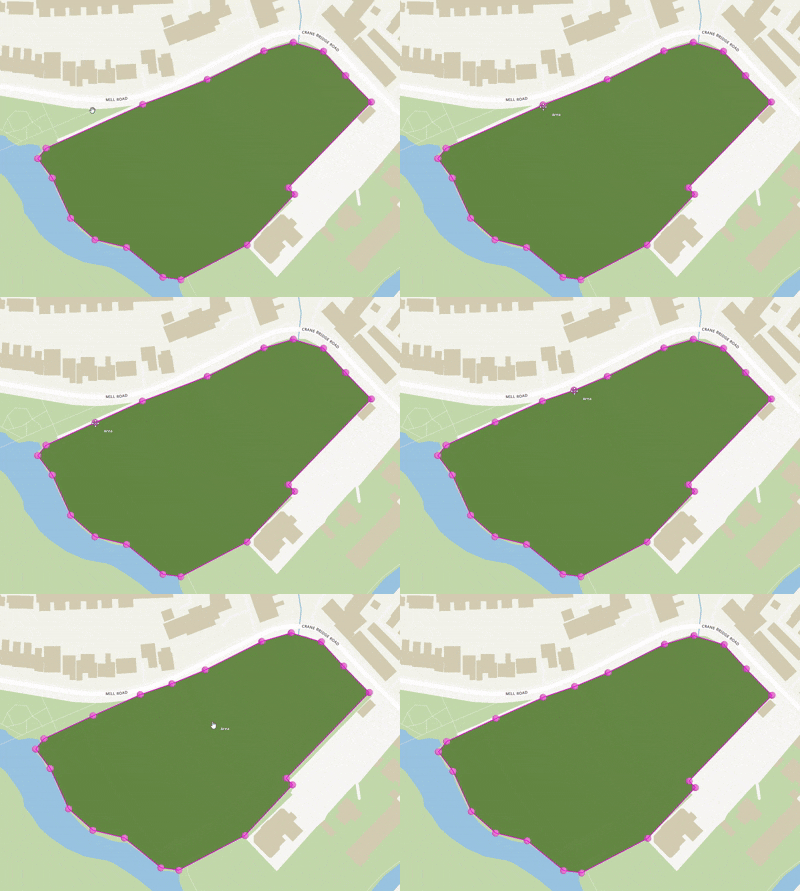
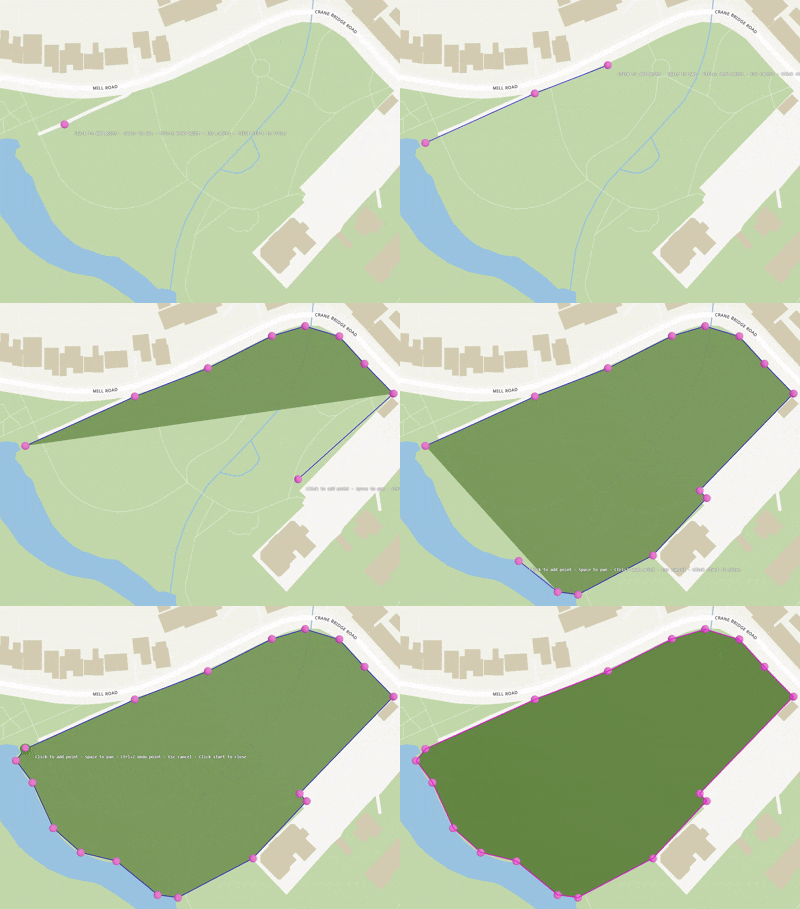
Click on the map to place each corner of your shape. While drawing:
- Click to add a point
- Space and drag to pan the map without placing a point
- Ctrl+Z (Mac: ⌘+Z) to undo the last point
- Esc to cancel
- Click the first point again to close the shape
3. Choose site or zone
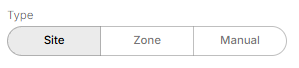
With the shape selected, open the settings panel on the right. Under Type, choose:
- Site — the main event boundary (only one site is typical, but you can use more.)
- Zone — an area inside the site
- Manual — a custom height if you need precise control
4. Style the shape
Still in the settings panel, you can:
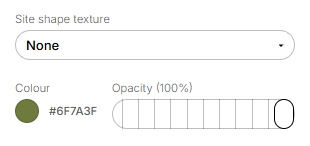
- Pick a colour for the fill and outline
- Choose a site shape texture — grass, water, concrete/asphalt, or none
- You can also adjust the opacity - this can help with adding other map features on top of the site.
5. Edit the shape later
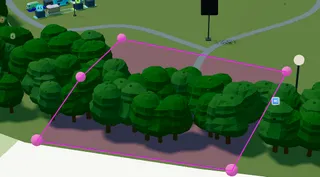
To adjust corners after you have finished drawing:
- Drag the pink adjustment balls to move them.
- Click on the pink edge line to add new adjustment balls.
- You can also drag the whole shape to reposition it.