Planning Map Quick Start
Lay out your site, place vendors and stages, and build paths and landscaping — your public map grows as you plan.

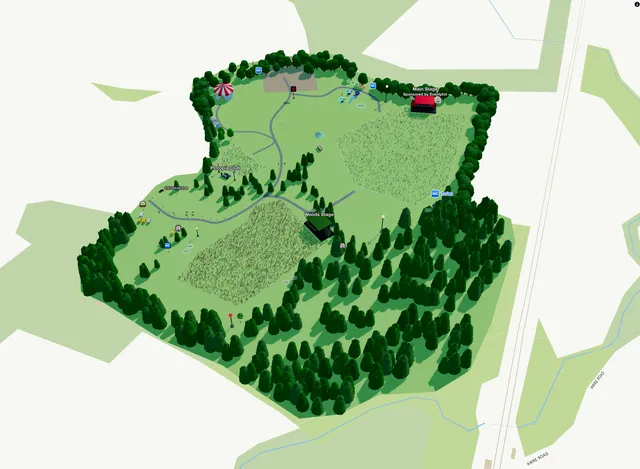
Planning your event map in Eventplot is designed to be fast, visual and flexible. Start with the basics of your site layout, then build up stages, vendors, paths and the attendee experience — all in one connected system.
As you plan, you are also creating the Public Map at the same time.
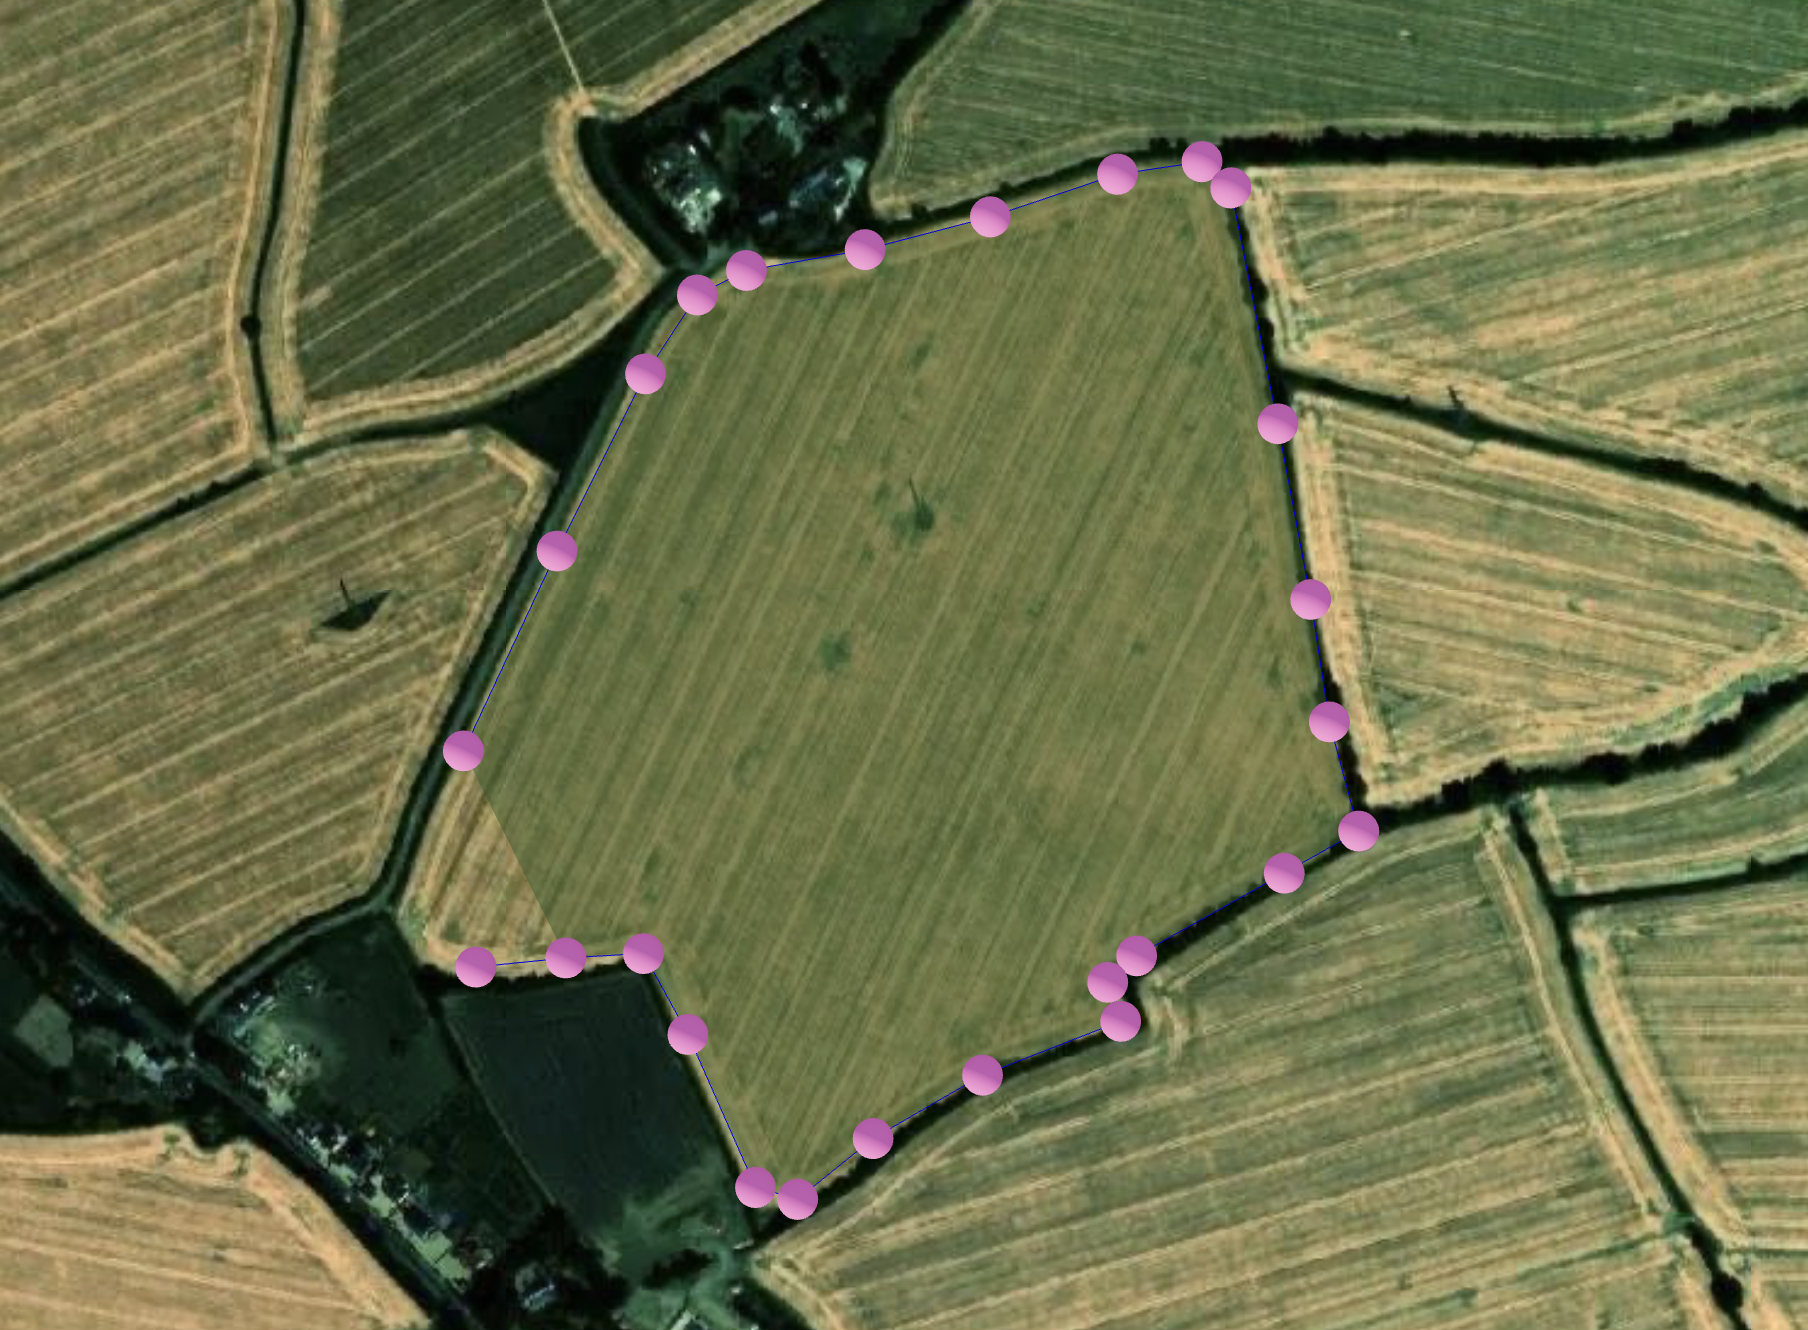
Define your site area
Add a site shape and draw the outline of your event area. Reduce the opacity so you can see the map underneath while planning.
- Click Add Item
- Choose Site / Zone
- Draw around your site area — complete the shape, or press Esc to finish. You can edit it again later.
Once the site shape is in place, adjust opacity, colour, and lock it if you want. A lower opacity helps while you plan; set it back to 100% when you are done.
Add plots and vendors
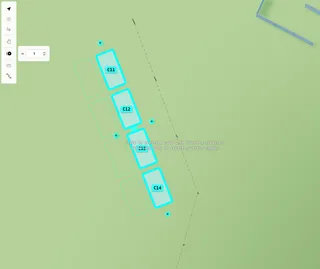
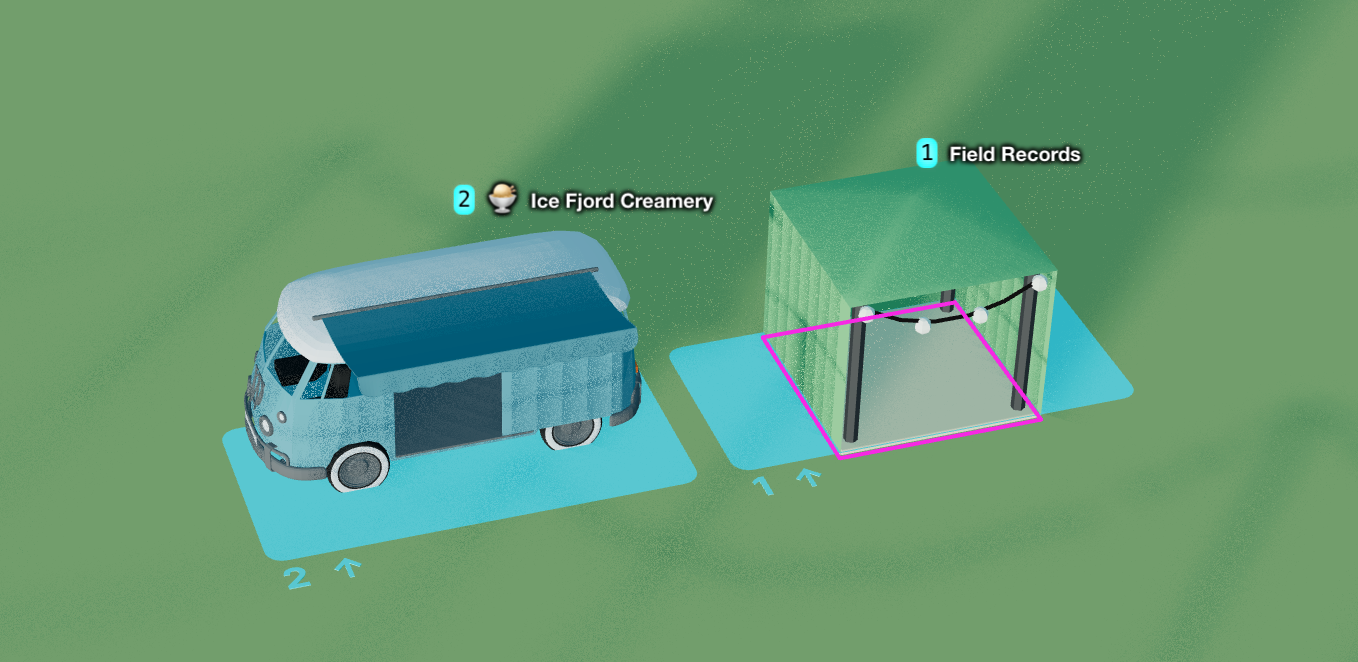
Plots are the spaces where vendors sit on the map. You can place vendors in one go, or lay out empty plots first and fill them later.
Place vendors you already have
- Add vendors under Vendors (or approve signups)
- Click Add Item → Vendors
- Drag a vendor onto the map, or click to place them — that creates a plot with the vendor on it
If an empty plot is selected, the vendor goes onto that plot. If a plot or vendor is already selected, the vendor you choose replaces who is there (you may be asked to confirm).
Plan with empty plots first
- Add Item → Items → Plot
- Position, size, colour, and number plots as you go
- When a vendor is ready, open Add Item → Vendors and drag or click them onto an empty plot
Move, swap, and tidy
- Select a vendor and drag them onto another plot — empty plots accept the move; occupied plots can swap
- Select a vendor and press Delete to remove them from the plot (they stay in Vendors)
- Select a plot to set plot number and colour
- Adjust plot size, and the vendor 3D model, size, and colour in the sidebar
- Drag to move; Ctrl + drag to rotate
See Plots and vendors for more detail.
Add stages
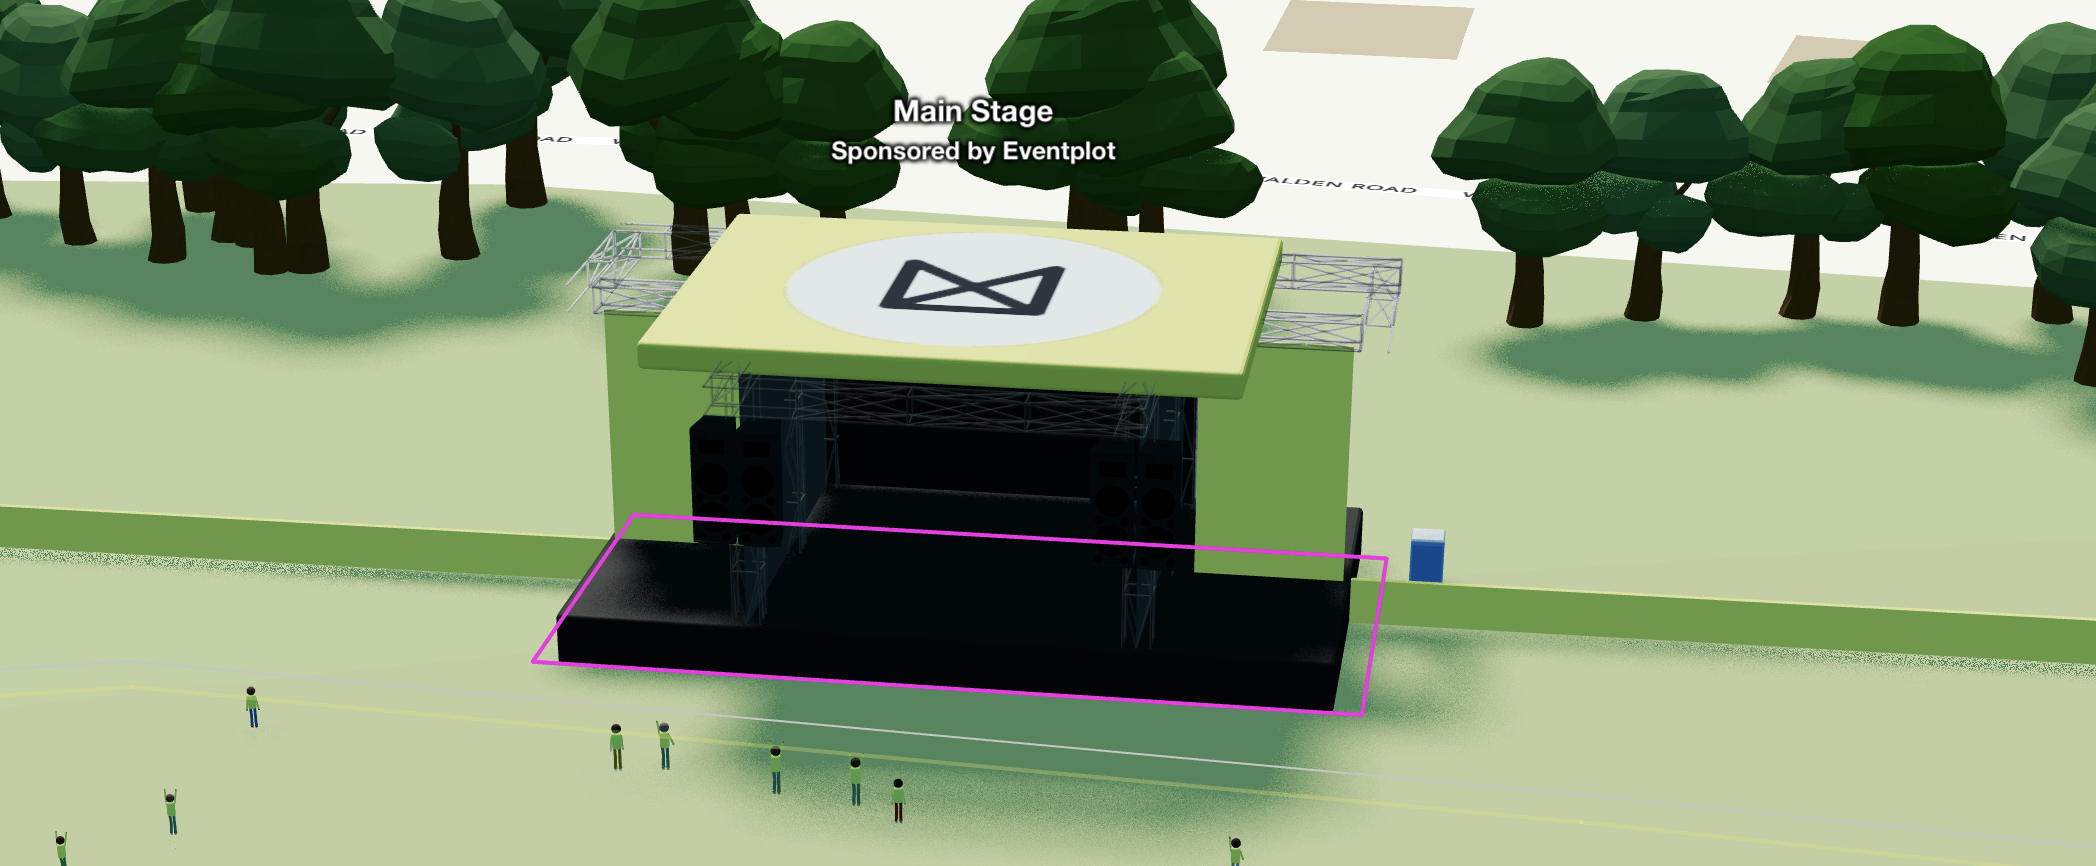
Position stages for schedules, performers, and live event information. Link the map stage to a Stage in Eventplot when you are ready.
- Click Add Item, then choose a stage type
- Adjust dimensions, colour, and other settings in the sidebar
- You can link crowds to stages. If a stage has a schedule, its label and lights can update during the event so attendees can see what is on
Planning only items
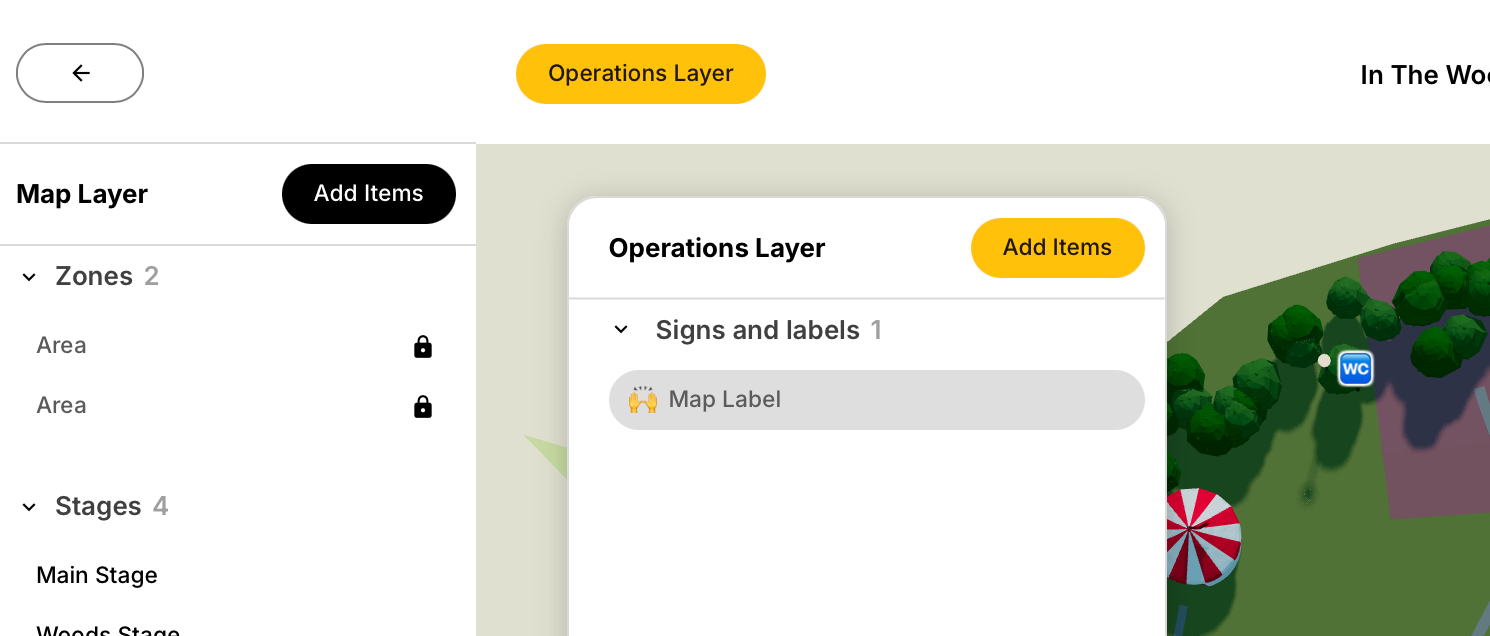
You will often need items for site admin only — backstage, staff areas, security, map labels, and so on.
- Switch to the Ops layer and add those items so they stay off the public map
Paths
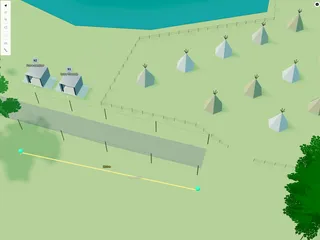
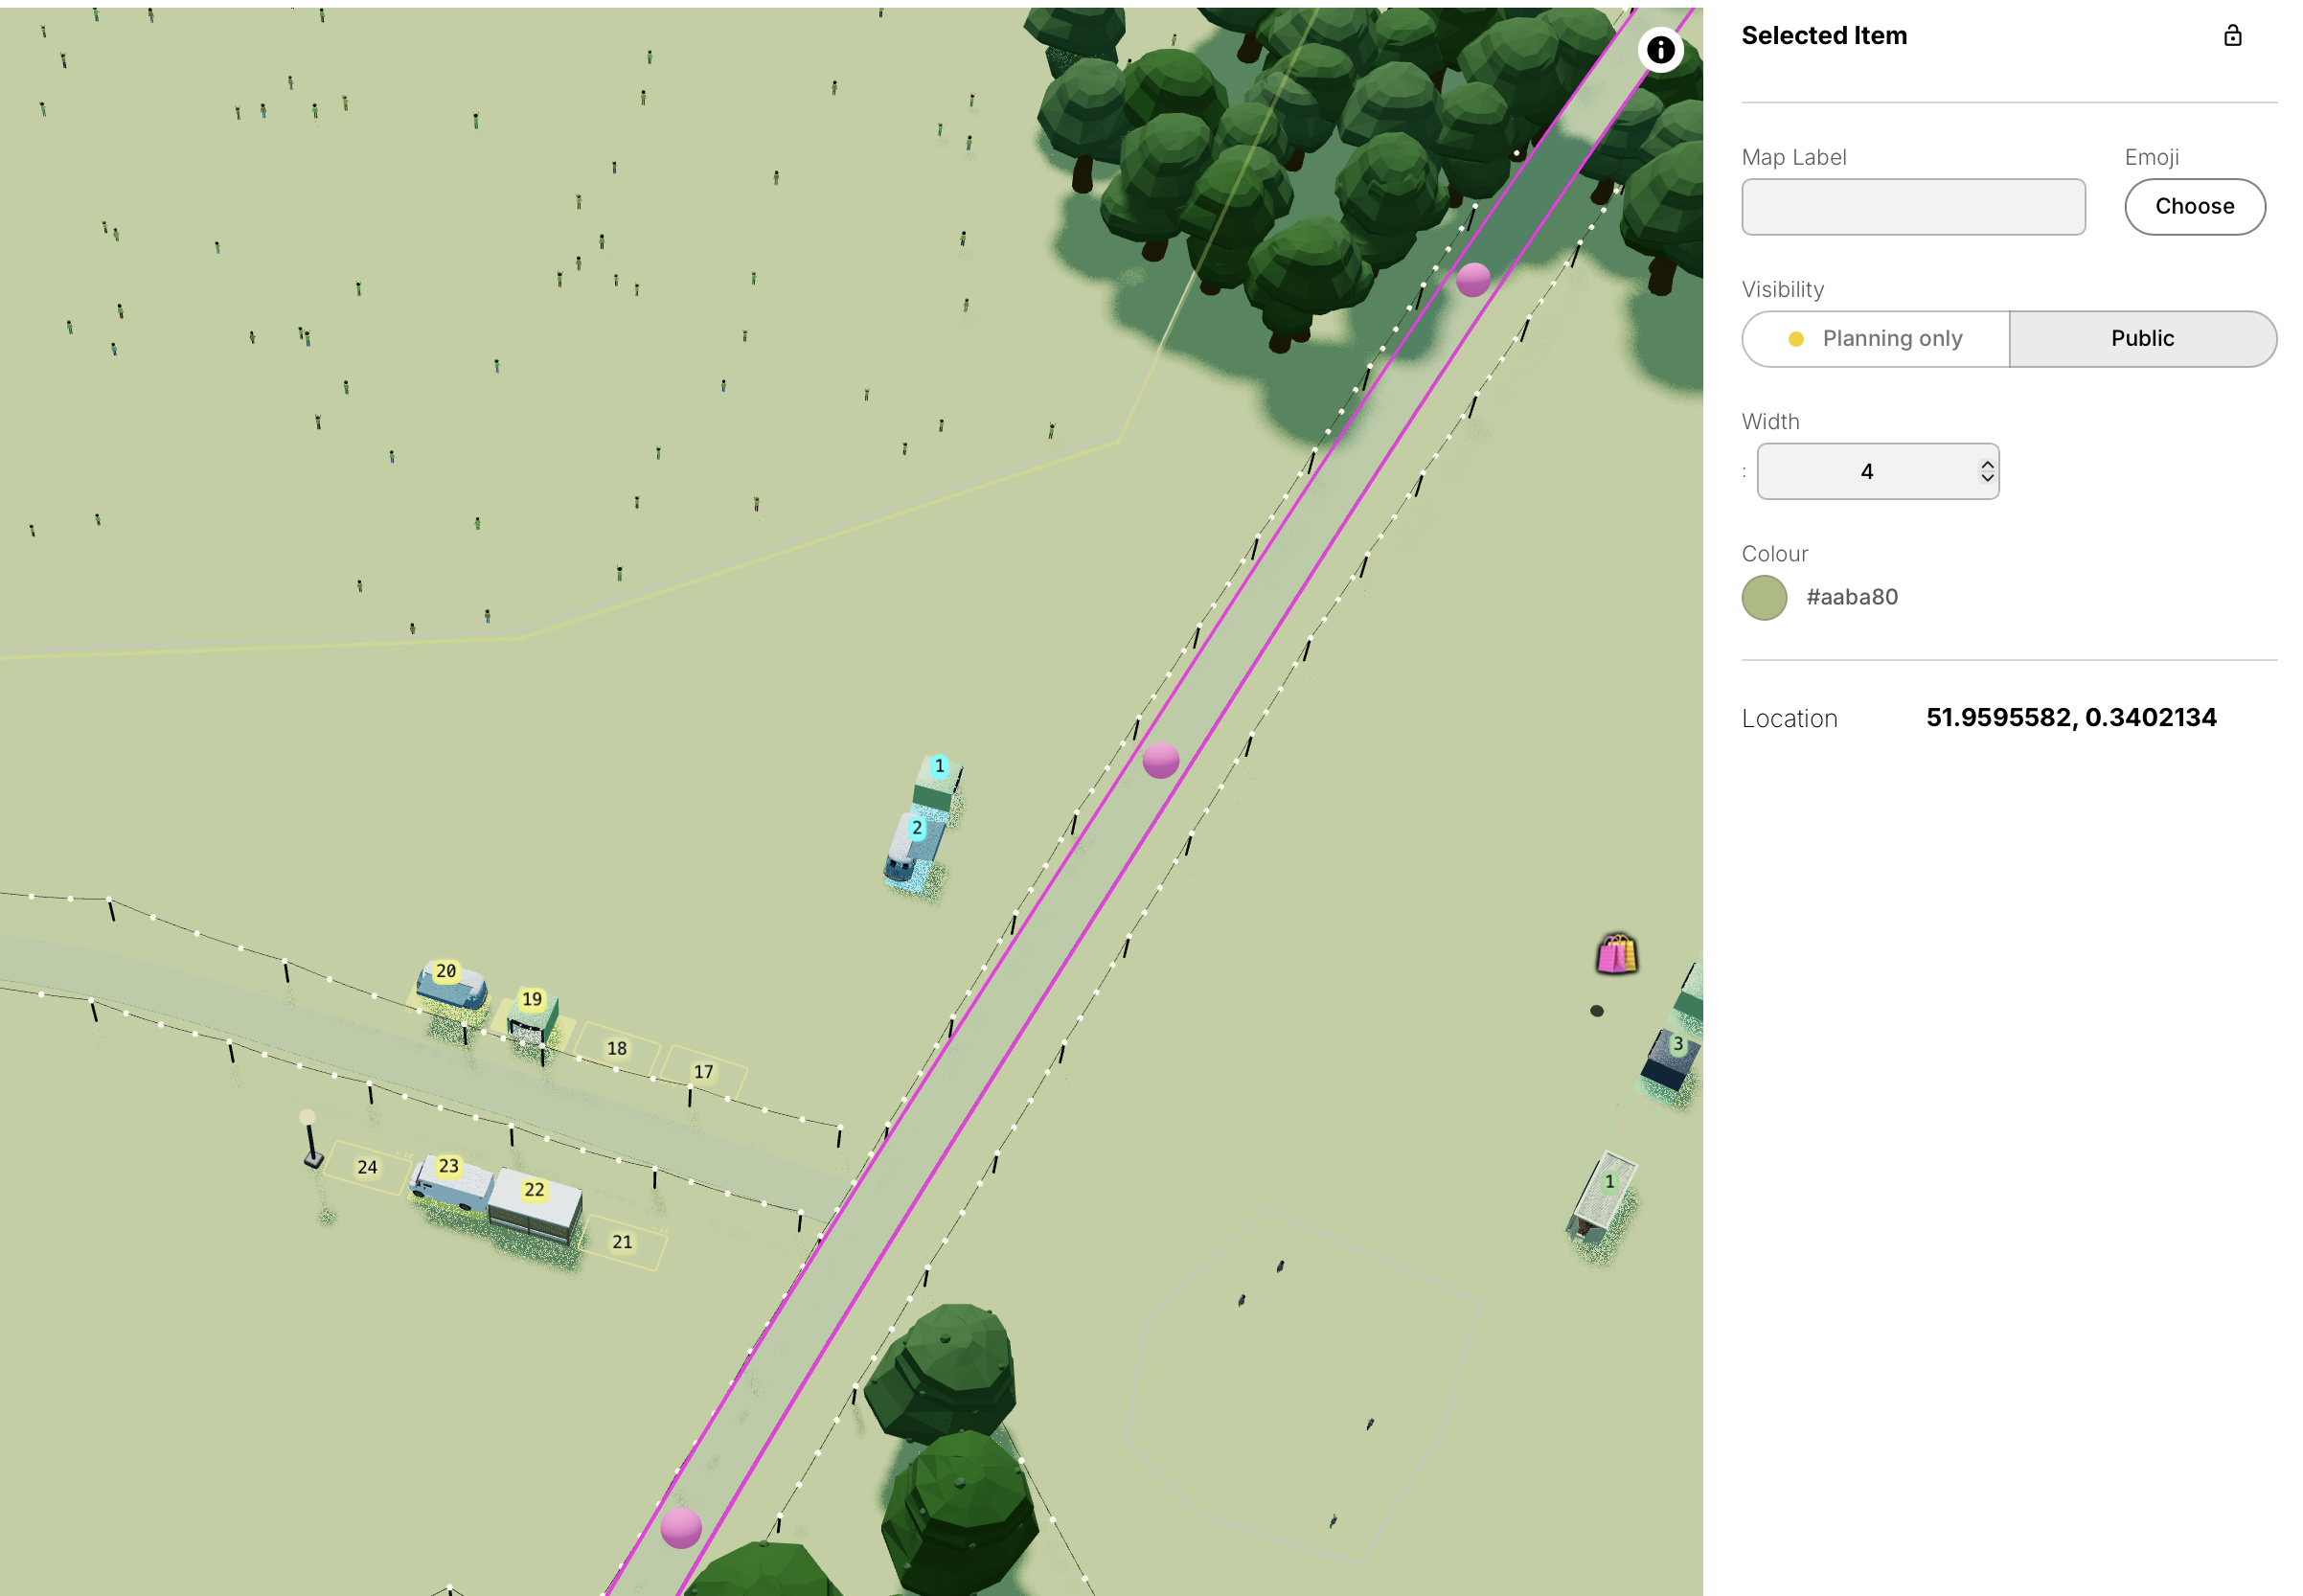
Use paths to show how people move around the site.
- Click Add Item, then select Path
- Draw point by point; press Esc when finished. You can adjust the path or add points later
Trees and decorations
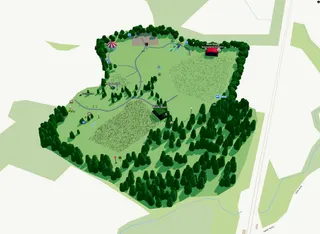
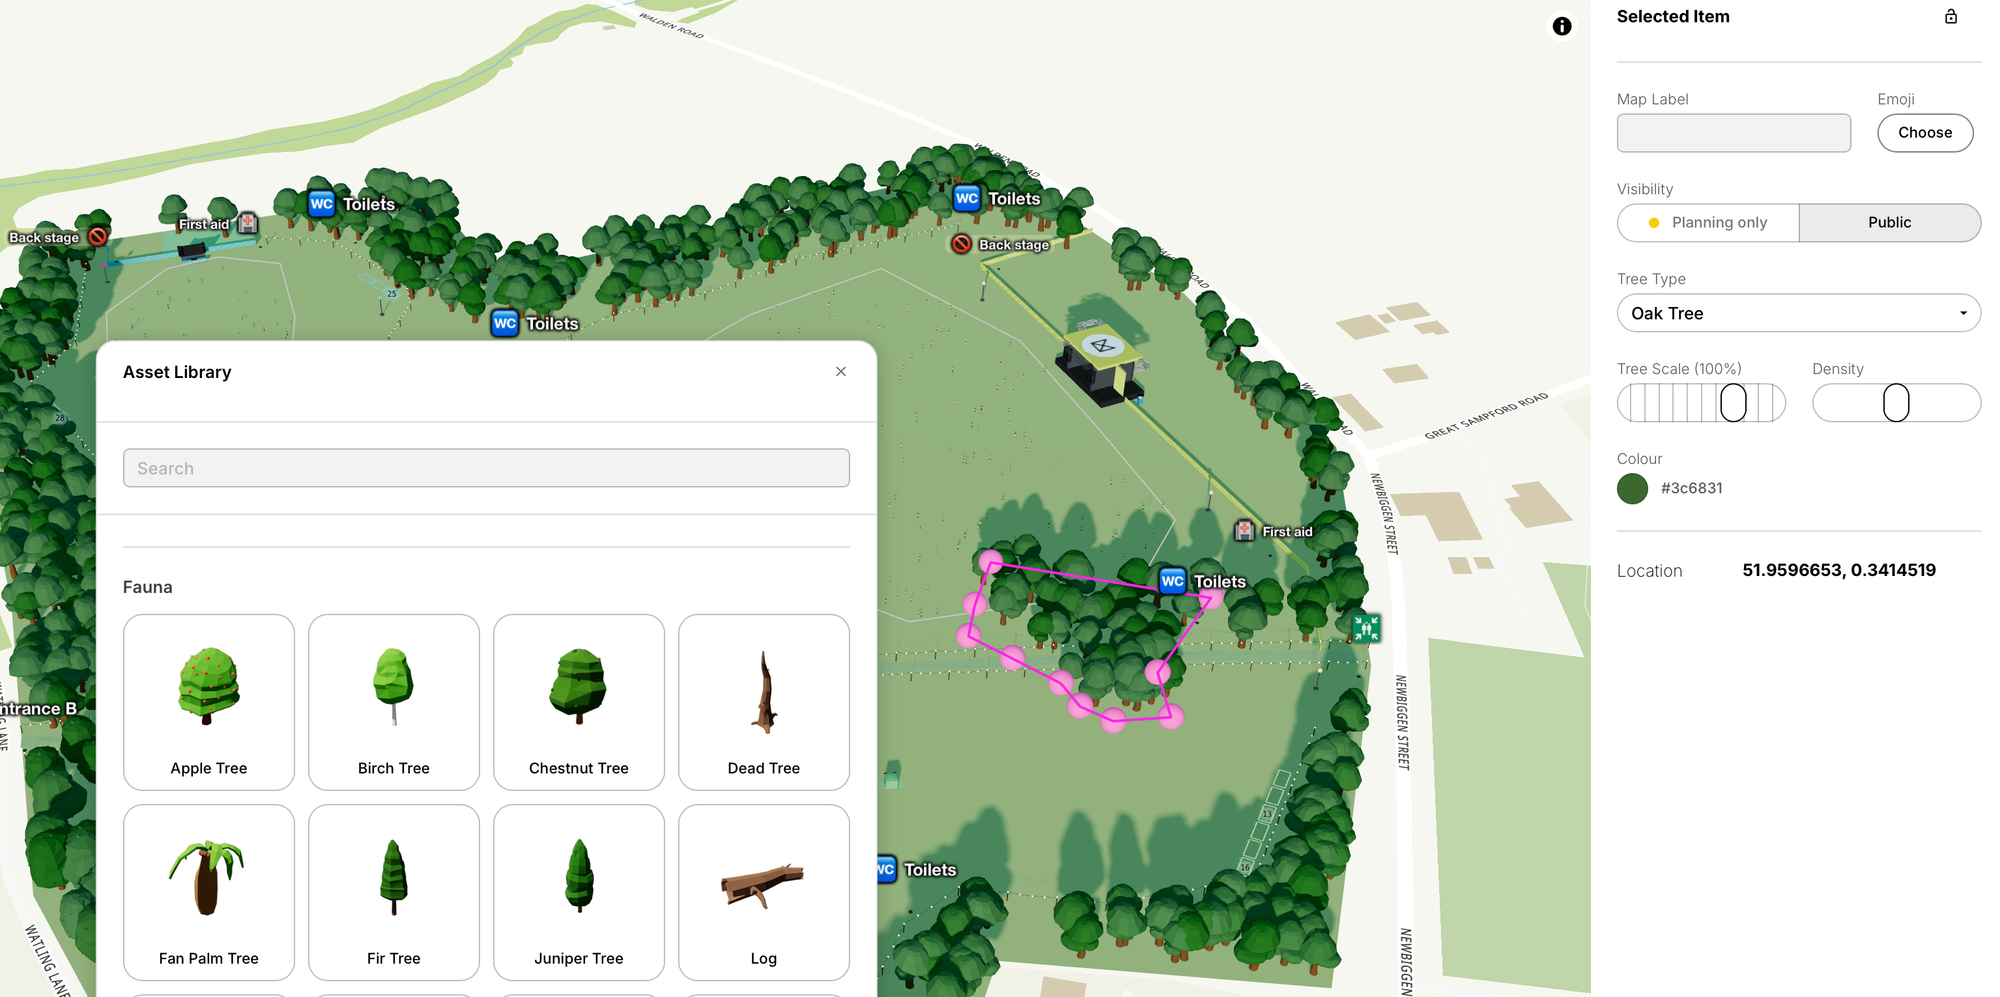
Bring the map to life with landscaping, lighting, and decorative elements. Place individual trees, or draw an area filled with trees.
- Click Add Item and choose a tree or Trees
- Draw a tree area in the same way as site shapes
Next steps
- Publish vendors and stages when you want them on the public map
- Build your stage schedule so the map can show what is on
- Use the overall Eventplot Quick Start if you are setting up the whole event for the first time