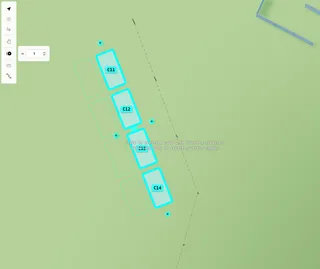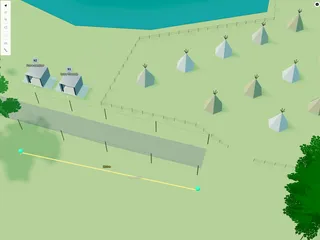
Plots are spaces on the Planning Map for vendors — one vendor per plot. Use them to plan layout, share plot numbers, and show published vendors on the public map.
1. Place vendors from Add Item
Add vendors under Vendors first (or approve signups).
On the Planning Map:
- Click Add Item → Vendors
- Drag a vendor onto the map, or click to place them
That creates a plot with the vendor on it. Only vendors not already on a plot appear in the list.
If an empty plot is selected, the vendor is added to it. If a plot or vendor is selected, the vendor you choose replaces who is there (you may be asked to confirm).
2. Plan with empty plots first (optional)
You can lay out the site with empty plots, then add vendors later.
- Add Item → Items → Plot
- Position, size, colour, and number plots as you go
- When ready, open Vendors in Add Item and drag or click onto an empty plot
3. Move or swap vendors
Select a vendor and drag them onto another plot.
- Empty plot — the vendor moves there
- Occupied plot — you can swap the two vendors
4. Remove a vendor from a plot
Select the vendor and press Delete (or use Delete in the sidebar). They leave the map but stay under Vendors.
5. Numbers, colour, size, and model
With a plot or vendor selected:
- Plot number — e.g. `12` or `Main Field 1`; shown on vendor cards and useful for setup day
- Plot colour — for planning zones (does not change vendor branding)
- Plot dimensions — match the real pitch
- Vendor 3D model, size, and colour — how it looks on the map
Drag to move. Ctrl + drag to rotate. Copying plots increments the plot number in that category.