Eventplot quick start guide

app.Eventplot.com helps you manage vendors, performers, stages, sponsors, your Planning Map, and your Website Editor in one place. Whether you’re organising a village fete, food festival, music festival, or community event, you can use Eventplot to build your event as you go.
There is no fixed workflow. Some organisers start by adding vendors and performers, while others begin with the Planning Map. Everything connects automatically as your event grows.
Before you start
To get set up, sign up with your email and confirm your account.
Step 1: Create your event
Create a new event and add the basic details:
- Event name
- Event dates
- Event location
You can add sponsors and other details later.
Tip: Adding your event location unlocks the mapping tools.
Step 2: Add your event content
In the sidebar, click Vendors to start adding your event content.
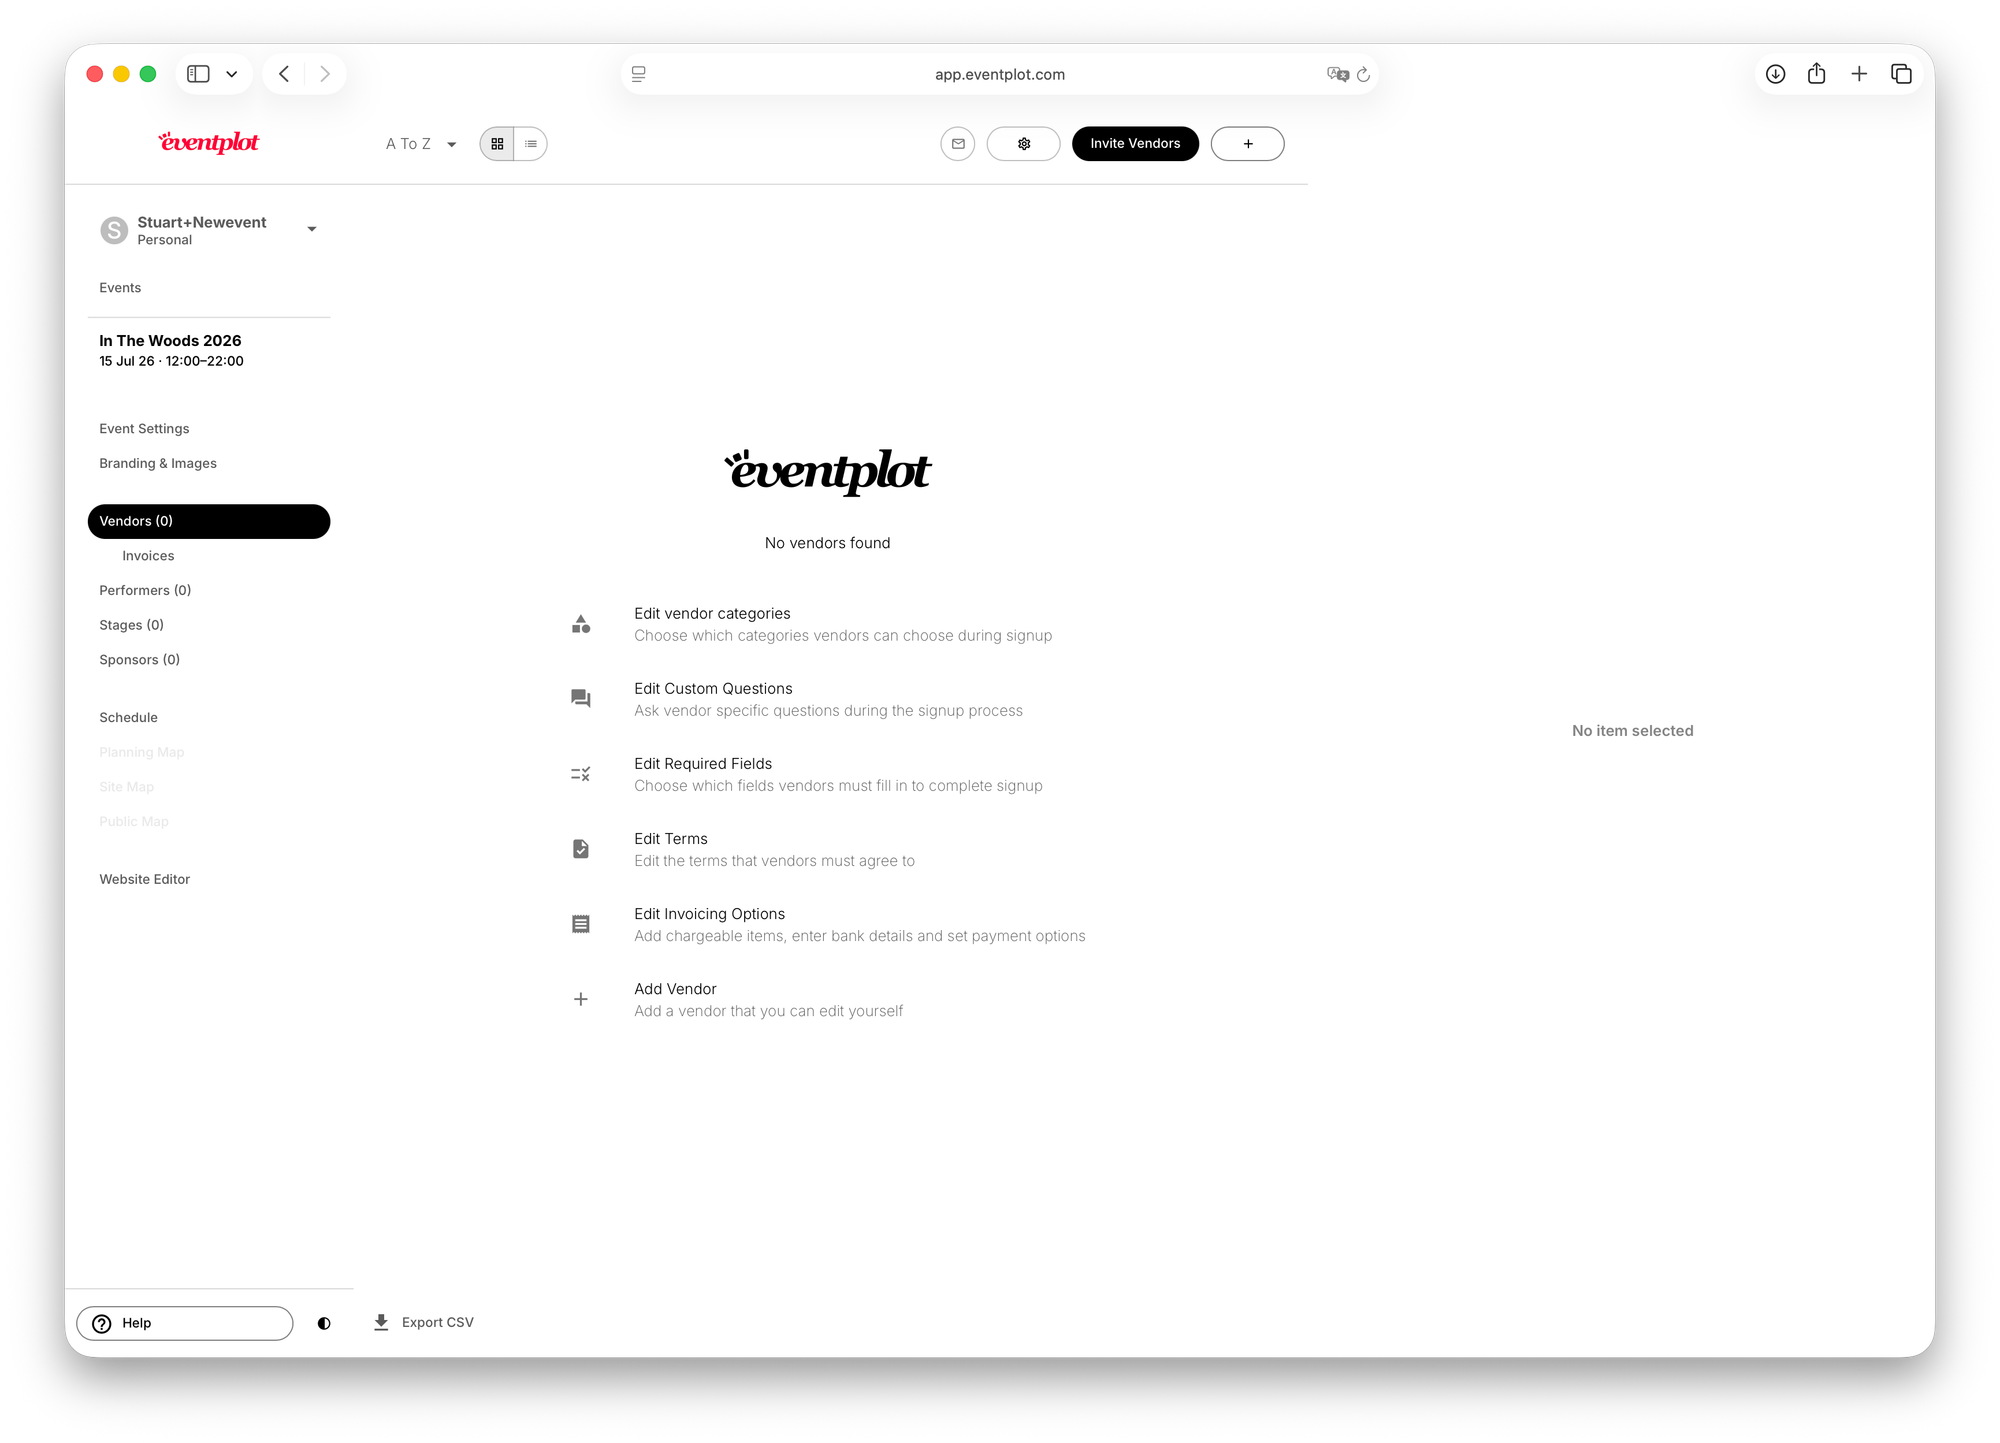
You can add:
- Vendors
- Performers
- Stages
- Sponsors
You can create these manually, or invite people to complete their own profiles.
To add something manually, click the + button at the top.
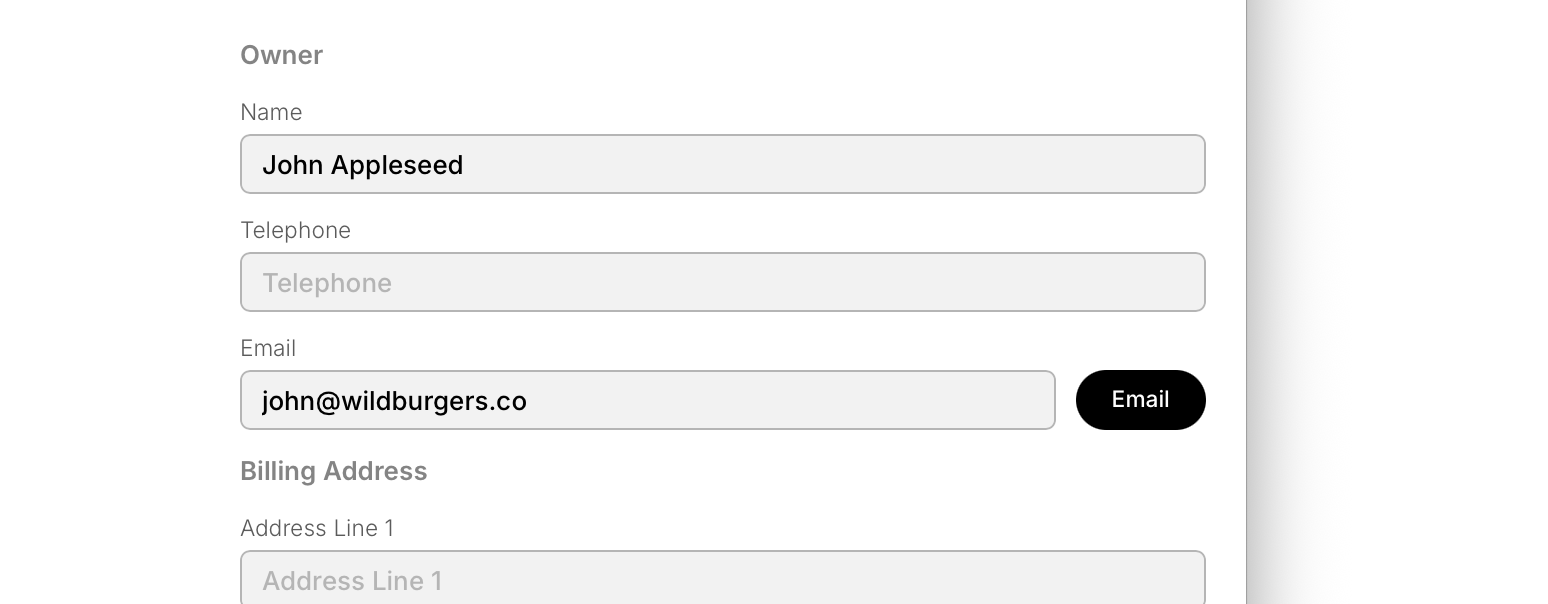
You can also enter an email address and invite a vendor or performer to complete their own details.
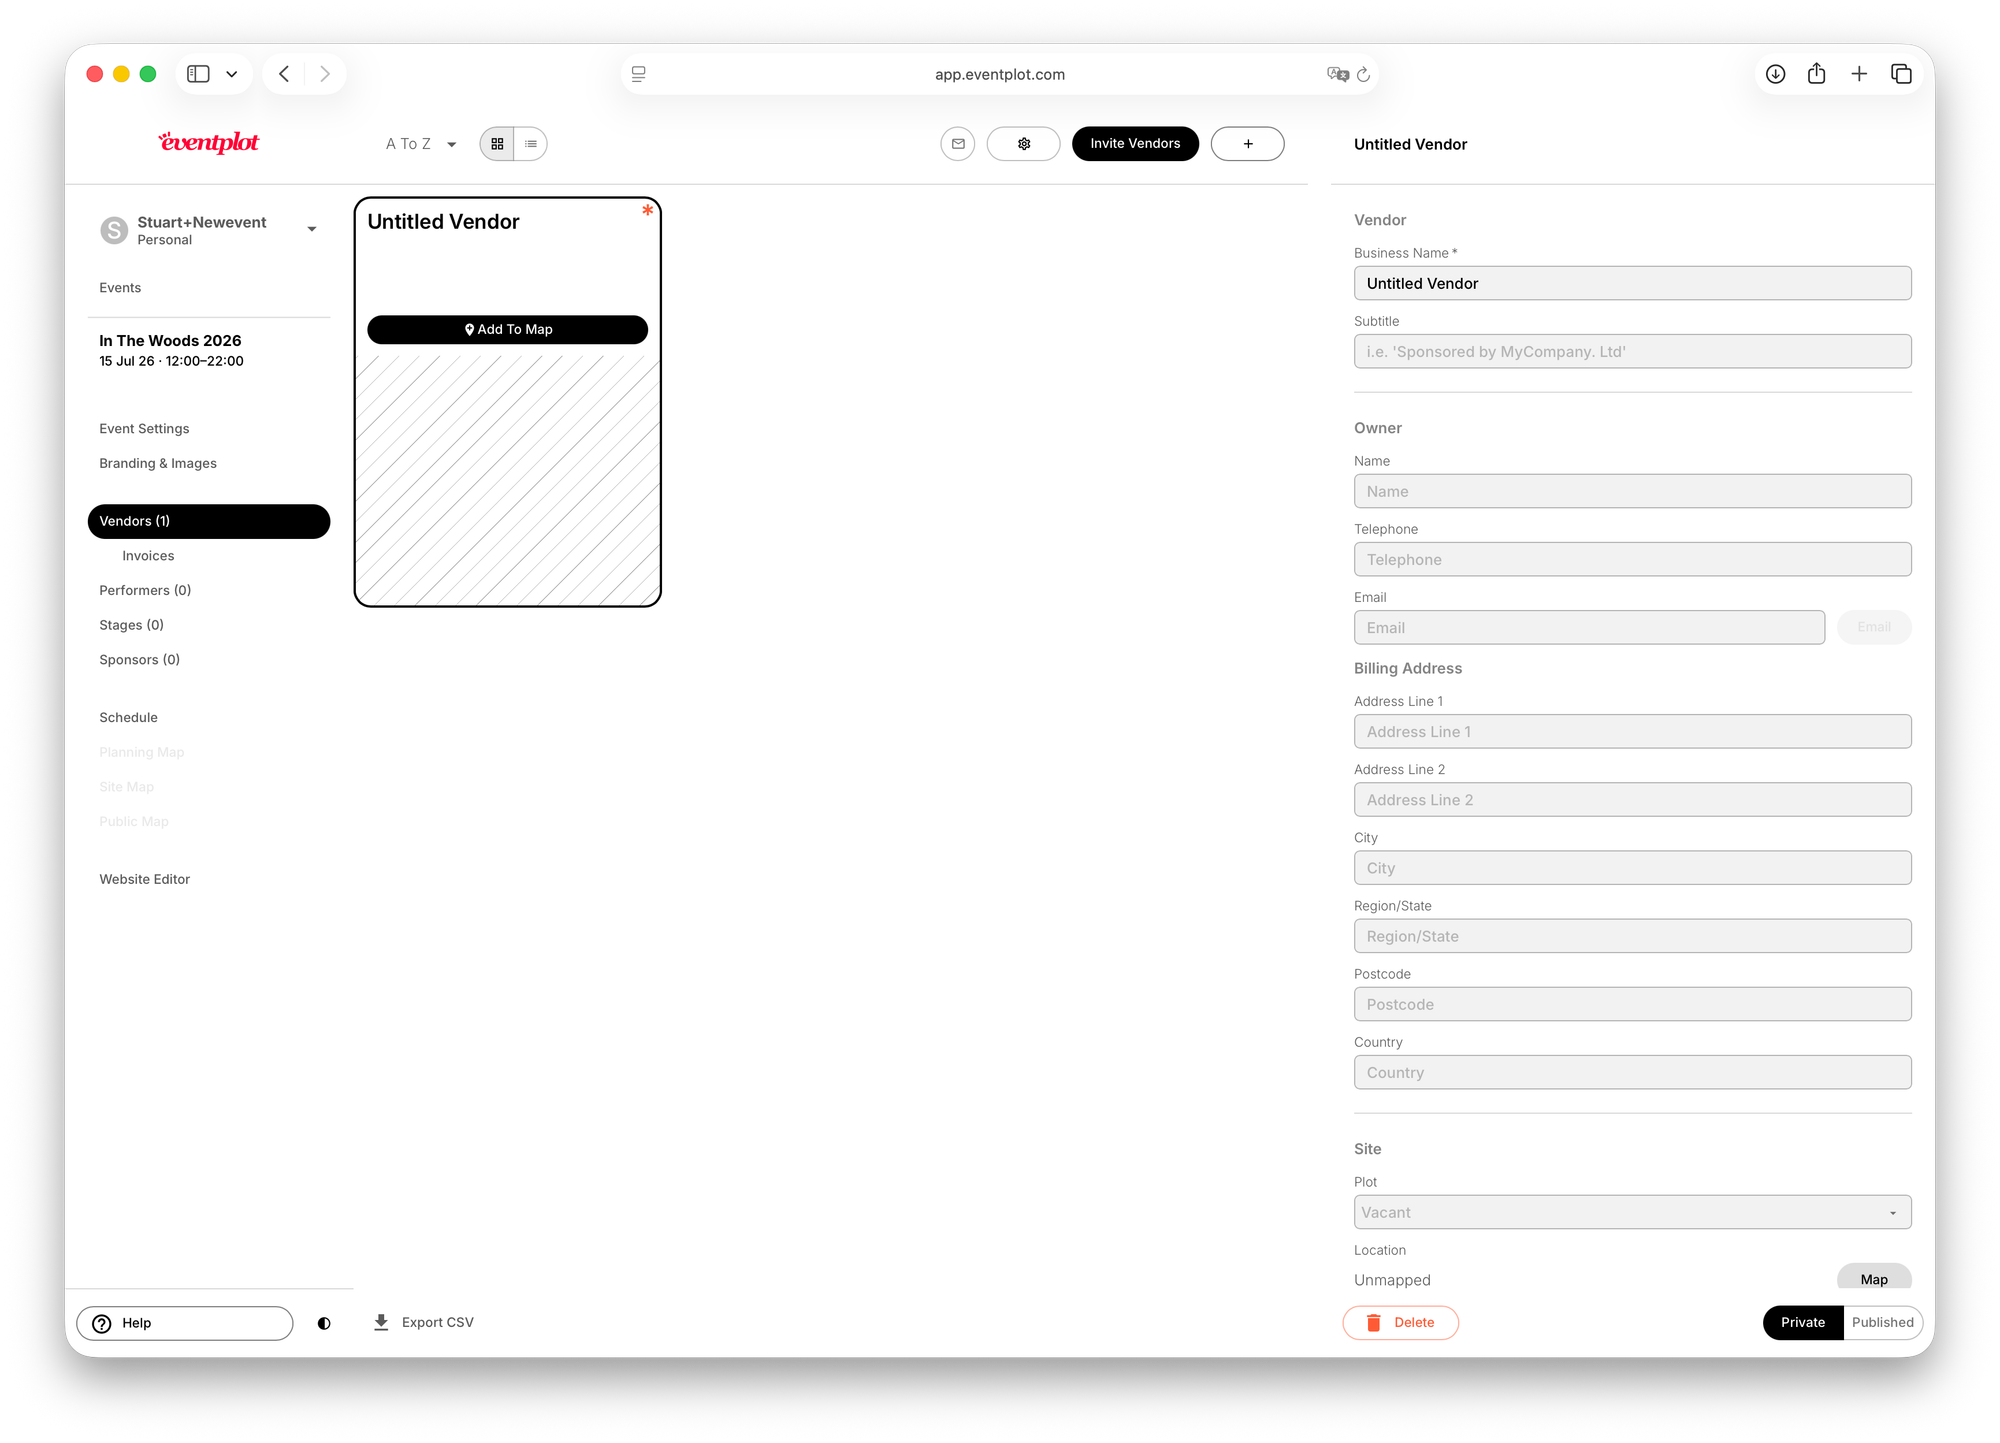
When you’re ready to make a vendor or performer public, click Publish in the bottom-right corner.
You stay in control of what is public and what remains private.
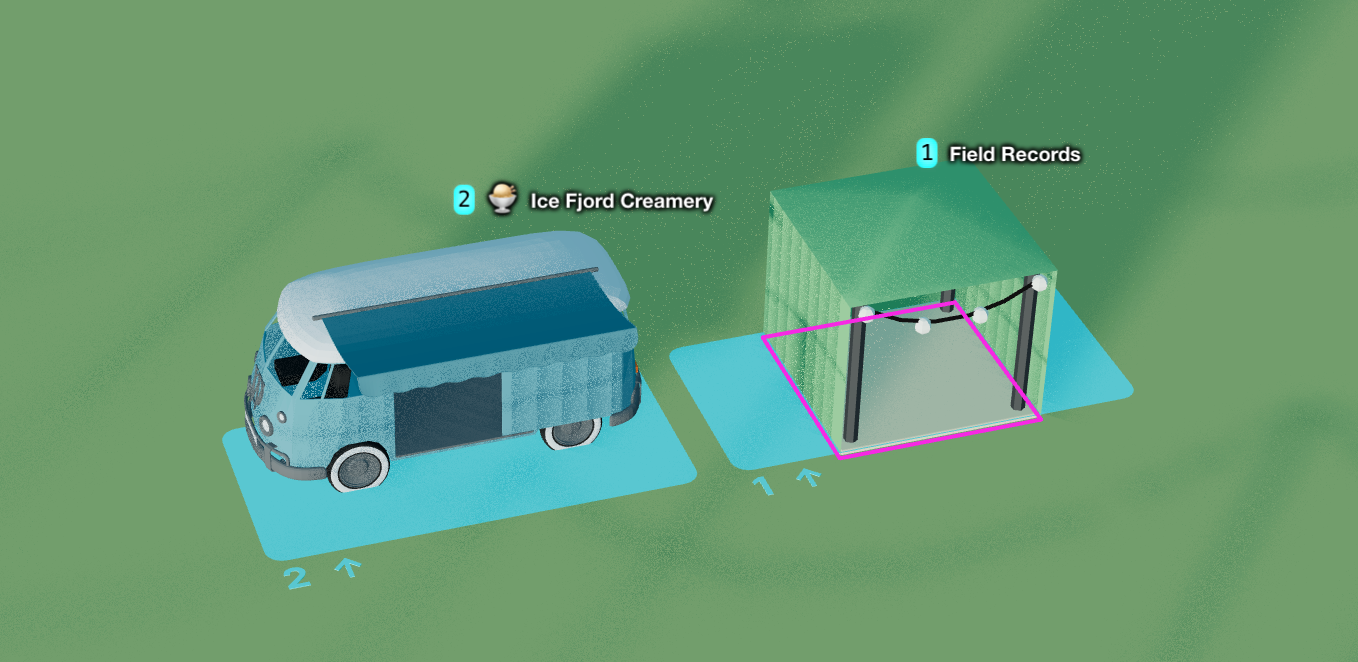
Step 3: Build your Planning Map
Use the Planning Map to create your event layout.
You can:
- Draw your event boundary
- Add plots for vendors
- Add stages
- Add paths, facilities, and decorations
- Assign vendors to plots
Don’t worry about getting everything perfect right away — you can move and edit items later.
There is a separate Planning map quick start guide here.
Step 4: Create your schedule
Once you have stages and performers, you can build your schedule.
- Select a performer from the list and drag it onto the stage schedule.
- Adjust performance times as needed.

Your schedule can appear on your event website and public map.
Note: Only published performers and stages will appear publicly.
Step 5: Publish your website
Every event includes a website builder.
- Add your content and images
- Customise the layout
- Publish your website
As vendors, performers, and schedules change, your website stays up to date automatically.
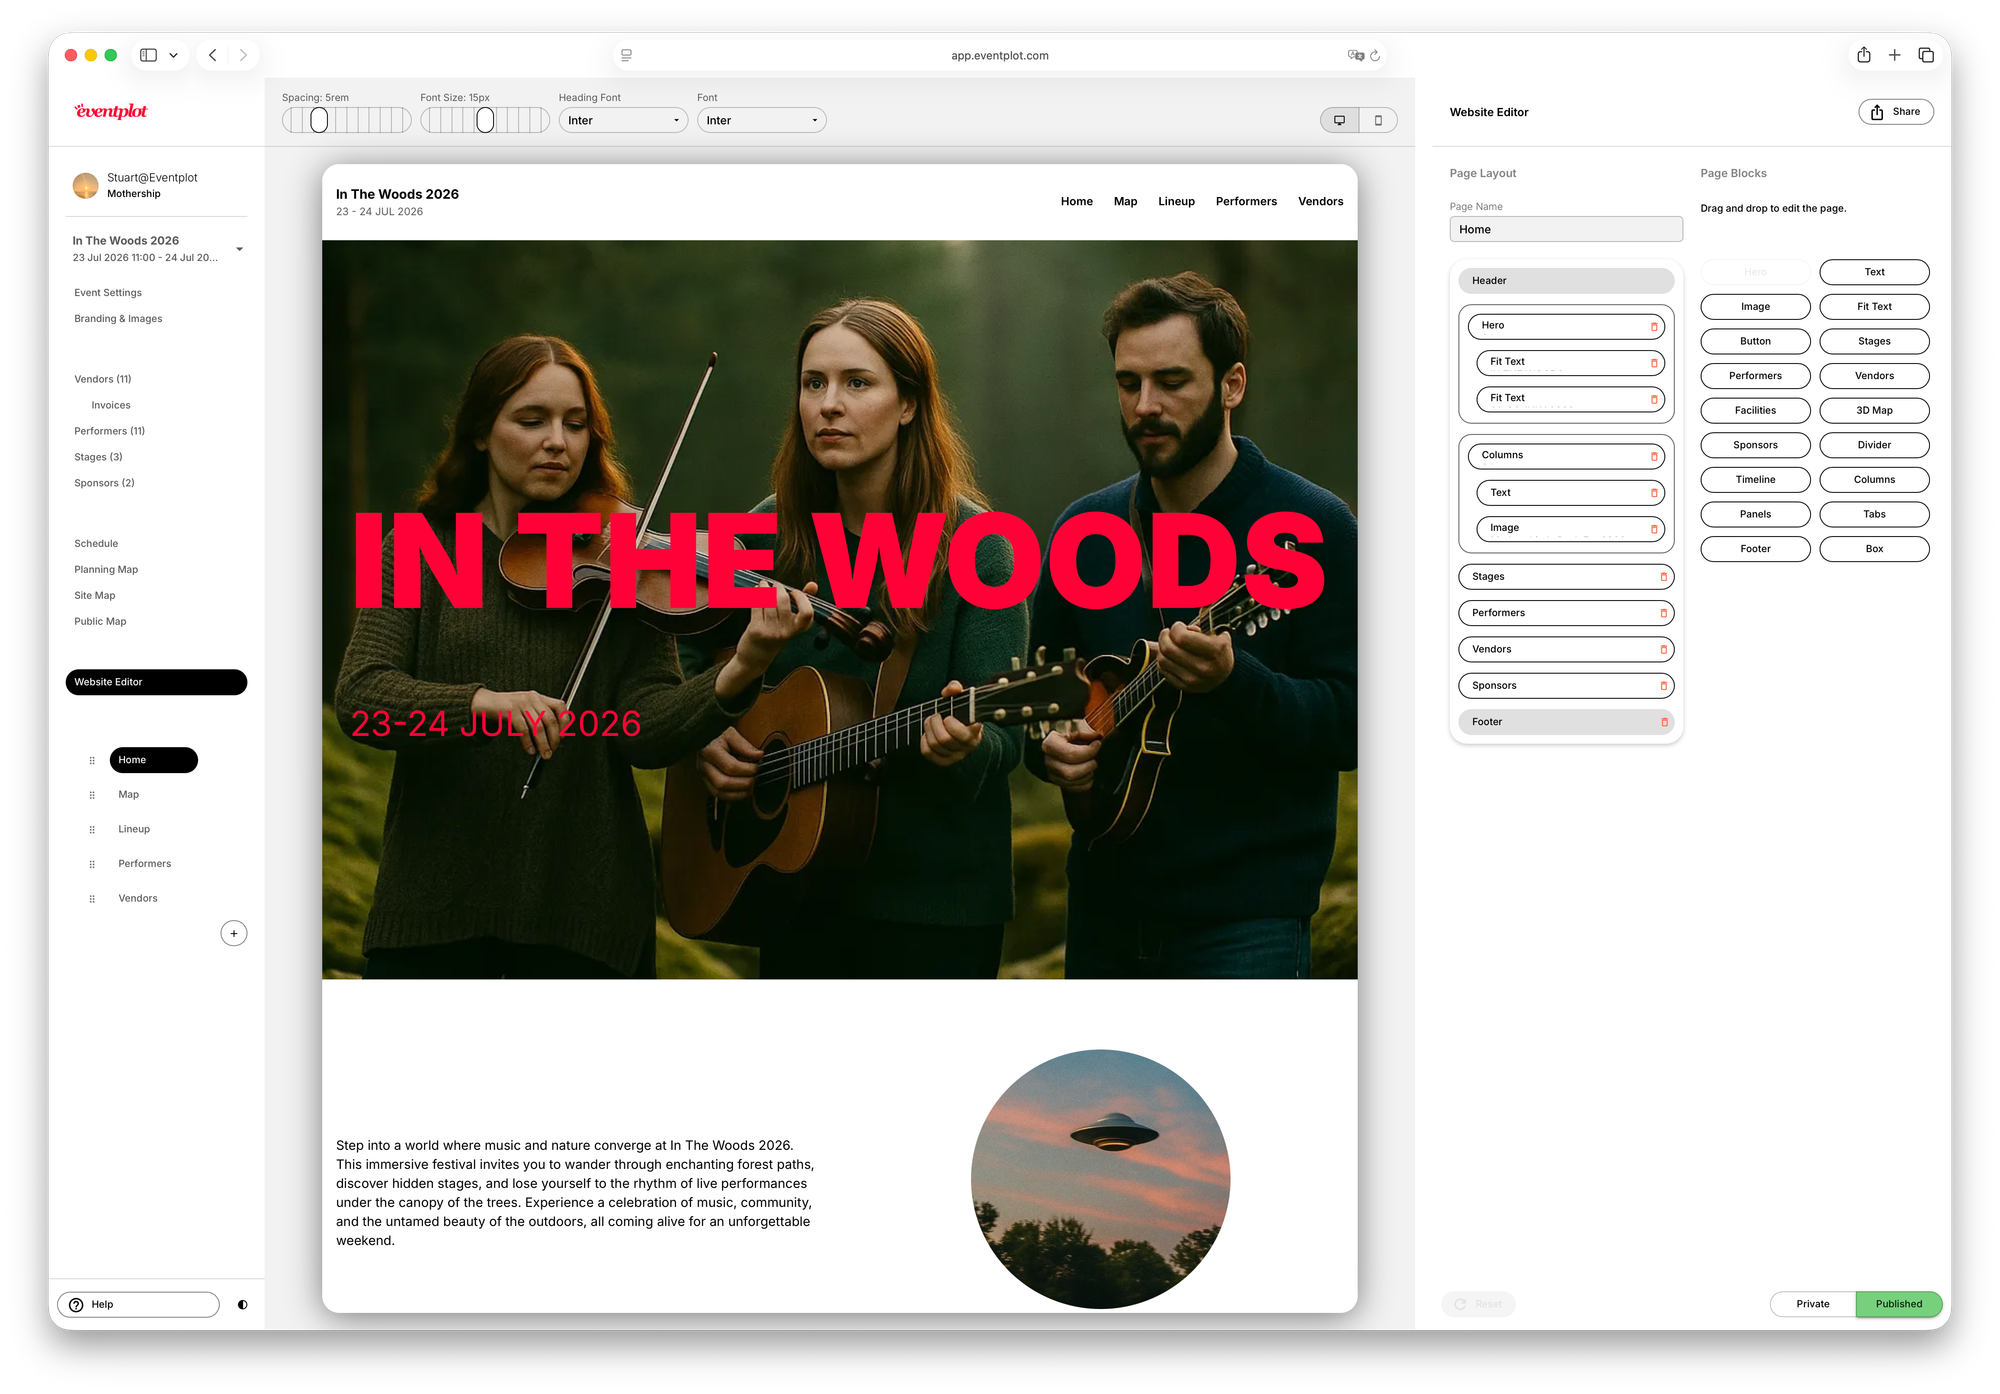
Select the pages on the left hand side, you can add new pages or reorder them. The home page and 3D map pages are mandatory, although you can hide them.
You can drag in website blocks into the page layout area - here you construct your page how you like. ( a quick start guide will be added soon.)
Step 6: Share your interactive event map
Once published, attendees can:
- Browse vendors and performers
- View schedules
- Navigate the site
- Explore your interactive 3D map
Next steps
After your event is up and running, you can explore:
- Organisation and teams
- Vendor invitations and applications
- Performer management
- Sponsor management
- Invoicing
- Operations layers
- Advanced mapping tools
That’s it. Most organisers can set up the basics in minutes, then keep refining things as more information comes in.