Managing event assets - quick start guide

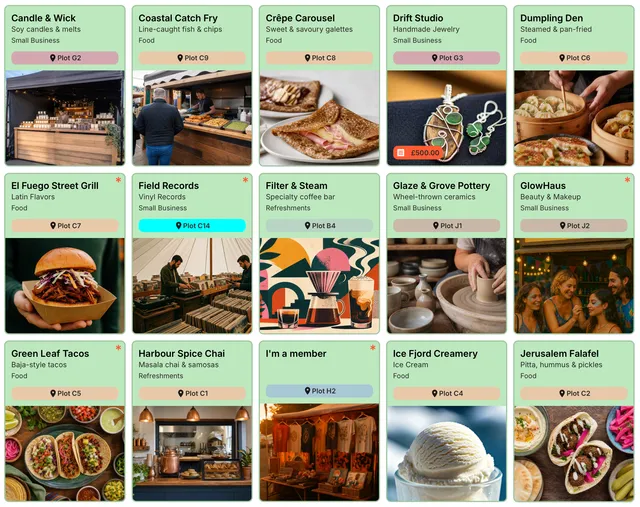
Vendors and Performers are your event assets — the traders, food stalls, bands, and acts that make up your programme. Manage them from the sidebar under Vendors or Performers.
You can build profiles yourself, invite people to fill in their own, or mix both.
[Image: Vendors or Performers list — sidebar link, grid of cards, Invite and + buttons in the header]
Add assets yourself
Open Vendors or Performers and click + to create a new profile. Click a card to open it in the panel on the right.
Fill in the profile — name, description, categories, images, and contact details. Changes save as you go.
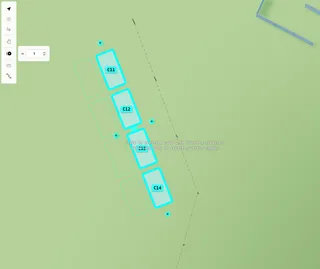
Vendors: assign a Plot on the Planning Map so they appear in the right place.
Performers: set their schedule from the performer profile, or drag them onto the Schedule later.
Invite vendors and performers
Click Invite Vendors or Invite Performers to send signup links by email, or copy and share the signup URL.
Turn on Accept New Signups in the invite dialog if you want open applications. Turn it off when you have enough applicants.
Review the inbox
When someone signs up, their profile lands in Inbox under the relevant sidebar section. Open it, review the details, then Accept or Reject.
Accepted profiles join your main list. You can still edit them before publishing.
Publish when ready
At the bottom of a profile, switch from Private to Published when you are happy for it to appear on your website, Public Map, and schedule.
You stay in control — nothing goes public until you publish it.
Note: Only Published vendors and performers appear publicly.
Customise signup (optional)
Use the settings menu on the Vendors or Performers page to adjust Categories, Custom Questions, Required Fields, and Terms before sending invites.
Vendors also have Invoicing settings in that menu.
What happens next
- Assign Vendors to plots on the Planning Map
- Build your Schedule with Performers and Stages
- Published assets flow through to your Website Editor and Public Map automatically