Managing vendors

The Vendors page is where you manage traders, food stalls, and other sellers at your event. Click a vendor card to open their profile in the panel on the right.
[Image: Vendors page — card grid, Invite Vendors and + in the header, profile panel open]
Add a vendor
Click + to create a profile yourself, or Invite Vendors to email signup links or share the application URL.
Use the settings menu to set up Categories, Custom Questions, Required Fields, Terms, and Invoicing before you open applications.
Review applications
New signups appear in Inbox under Vendors in the sidebar. Review each application and Accept or Reject.
Assign a plot
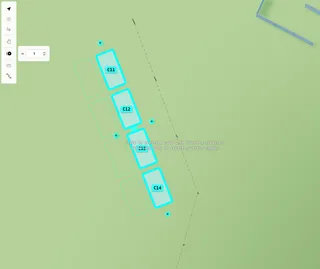
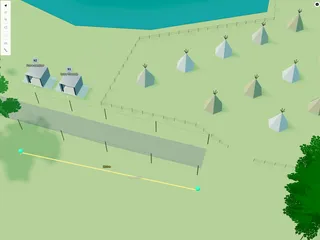
Each vendor needs a plot to appear on the Planning Map and Public Map.
- From the vendor profile, use Plot in the Site section to pick a vacant plot — or assign from the Planning Map by dropping a vendor onto a plot.
- If a plot is already taken, Eventplot offers to swap vendors.
Publish
Switch from Private to Published at the bottom of the profile when the vendor should appear on your website and public map.
Note: Unpublished vendors stay internal until you publish them.
Invoicing
Open Invoices under Vendors in the sidebar for an overview, or use the Invoicing section on a vendor profile to generate and track invoices.
Configure event-wide invoice defaults via Invoice Settings in the vendor settings menu or on the profile.
Bulk actions
Use the email icon in the header to message vendors, or Export CSV at the bottom of the list to download vendor data.