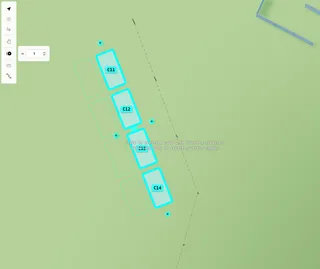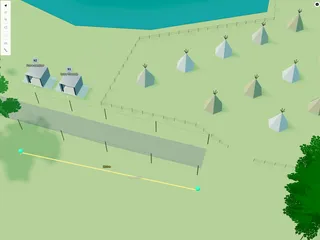
Stages
How to add a stage

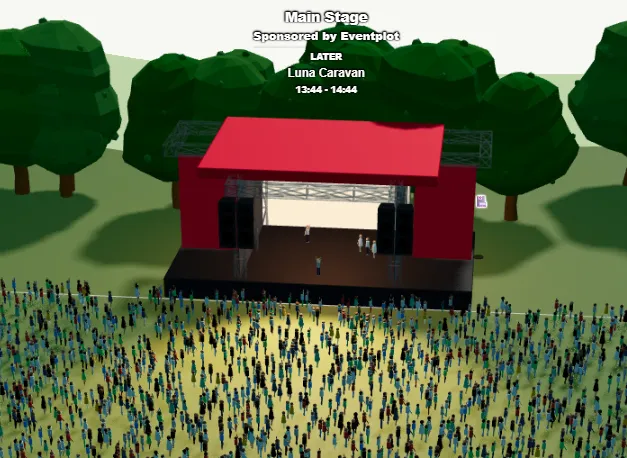
Stages show where performances happen on your event layout. You can place different stage models, link each one to a stage in your event, and adjust how it looks on the map.
Before you start
Create your stages in the Stages section of the event (name, schedule, etc.). You can place a stage model on the map first, but linking it to a stage resource keeps labels, schedules, and crowd areas in sync.
1. Add a stage from the asset library
On the planning map, open the Asset library from the toolbar. In the Stages section, choose a stage model, for example:
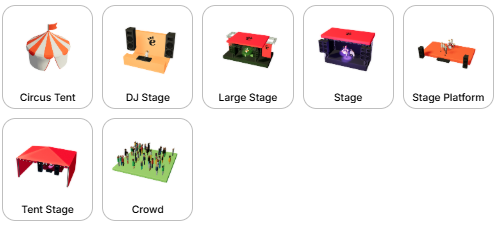
Click the model to add it, then click on the map to place it.
2. Position and rotate
- Drag the stage to move it
- Ctrl + drag (Mac: ⌘ + drag) to rotate
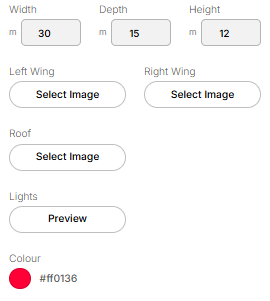
- Use the width, depth, and height controls in the settings panel to resize (each model has its own size limits)
3. Assign to a stage resource
With the stage selected, open the settings panel on the right. Under Assigned to, choose the stage resource it represents.
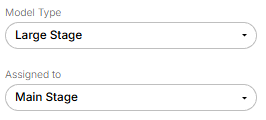
Each stage resource can only be assigned to one map object at a time. Stages already assigned elsewhere appear as “(Assigned)” in the list.
4. Customise appearance
Depending on the model, you can also:
- Set a map label shown on the map
- Pick a colour for the stage
- Add images to stage surfaces (e.g. roof, left/right wings, back wall — varies by model)
- For Tent Stage, toggle walls and stage setup options
- Use Preview under Lights to briefly preview stage lighting (about 5 seconds)
5. Tips
- Change the Model type dropdown to swap between stage models without removing the object from the map
- Use Ctrl + C / Ctrl + V (Mac: ⌘) to copy and paste a stage
- Del deletes the selected stage
- Lock an object to prevent accidental edits